
How To Make a Family Mask Holder in 11 Easy Steps
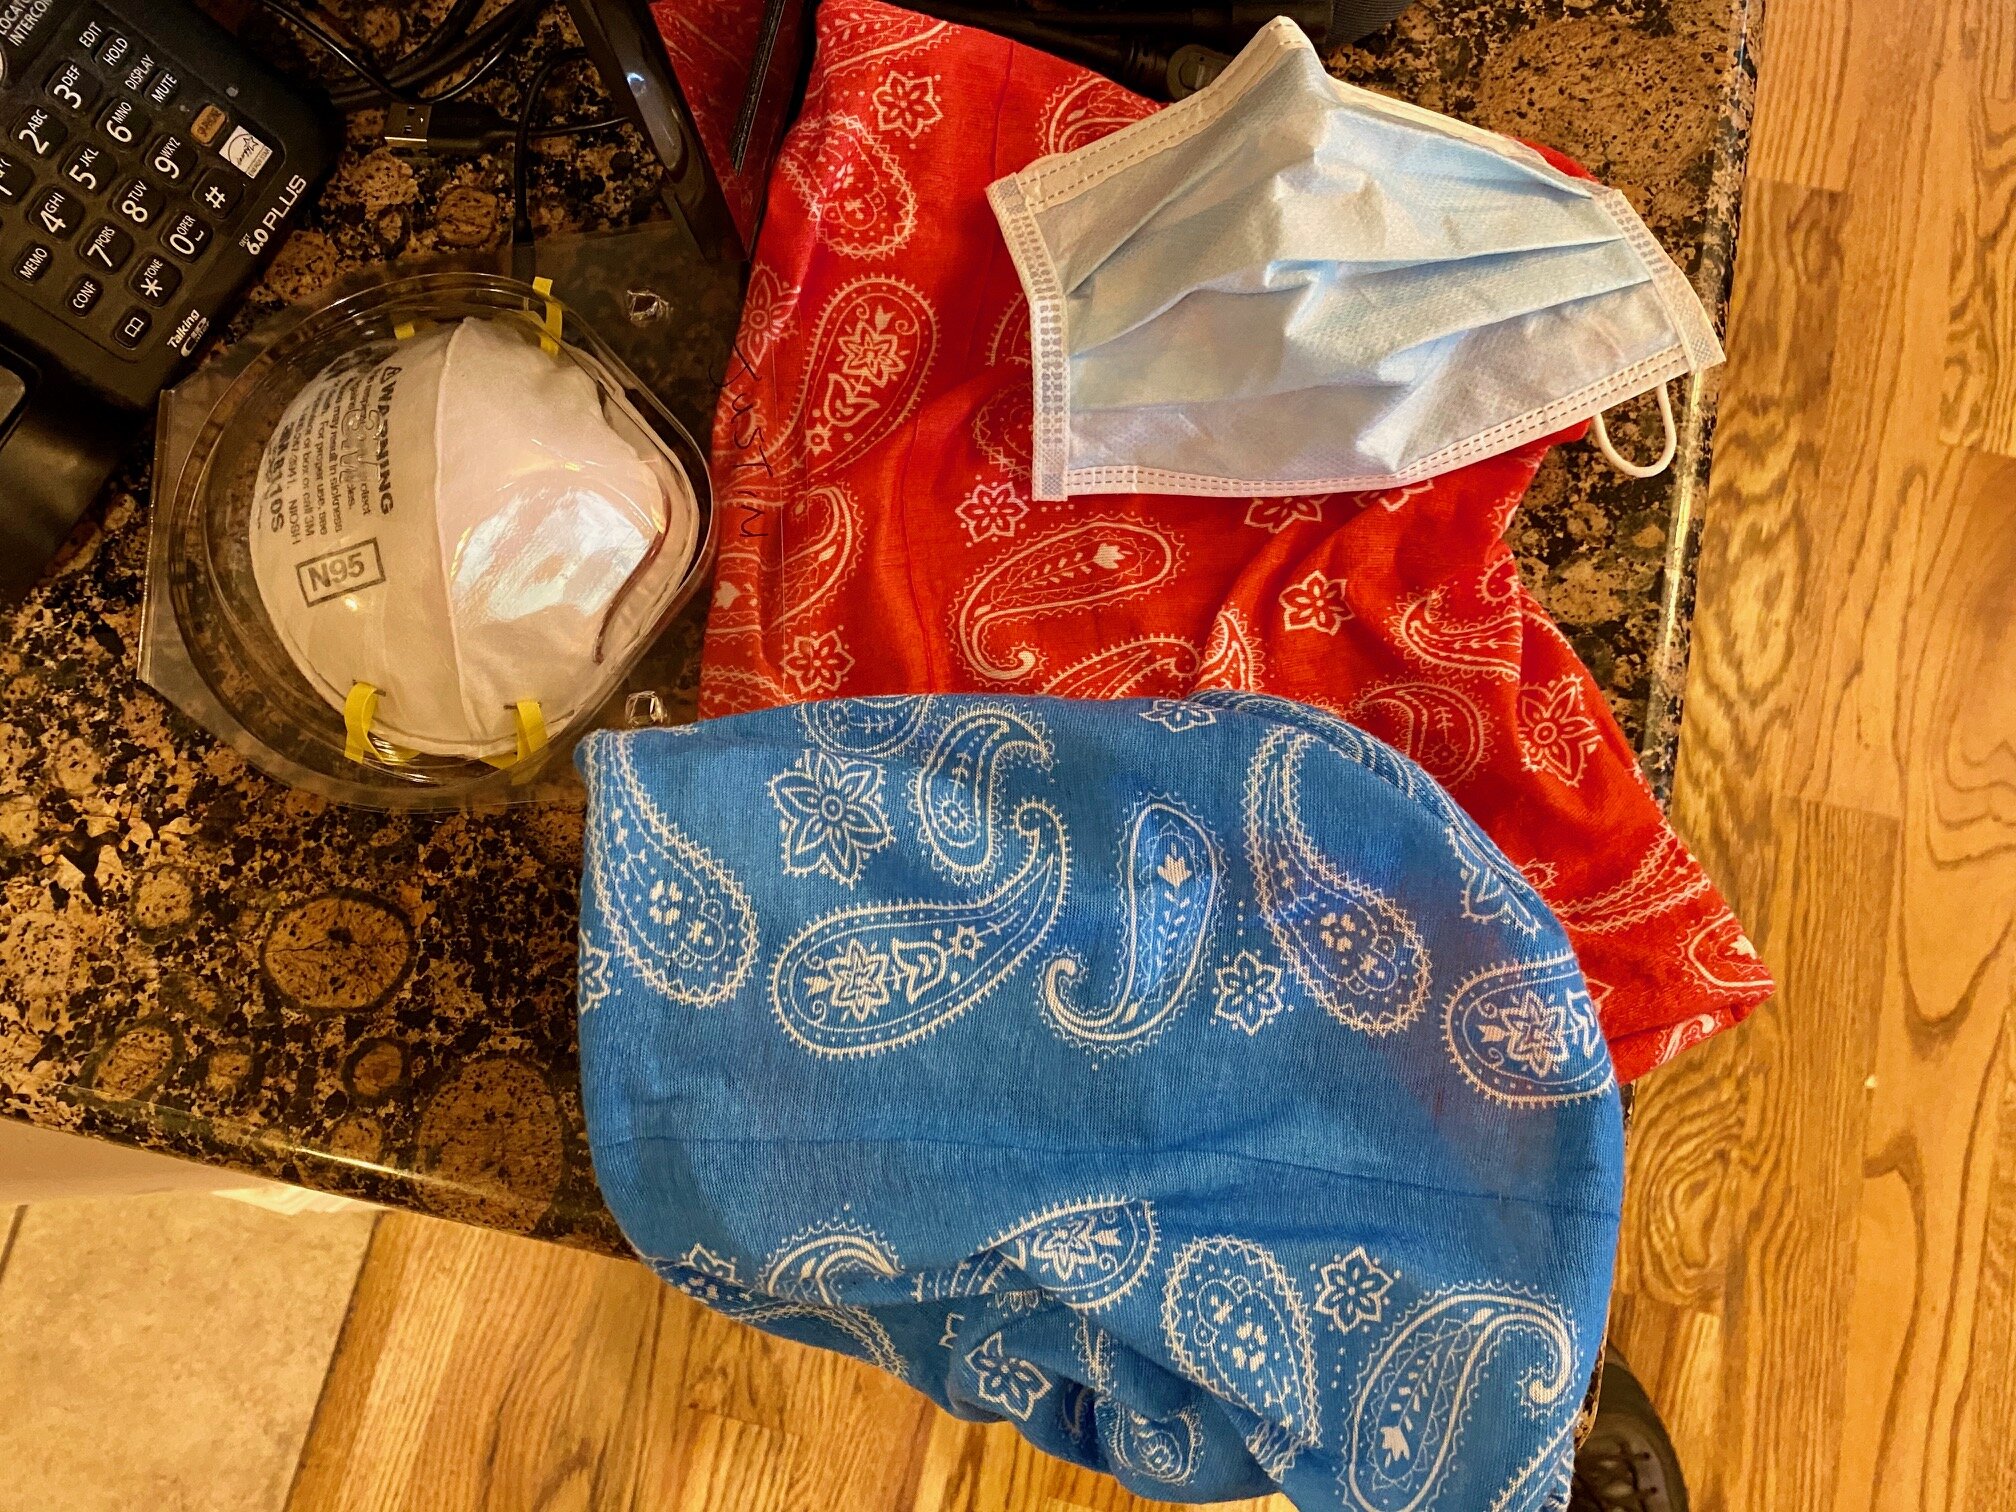
Do you have masks laying around like I do in an unorganized way? Are you running out the door to go to the grocery store only to run back in to try to find that mask that you have somewhere in the house?If you have had this happen, you are not alone. I also have been struggling with these questions since the quarantine began. Darn the Coronavirus for causing more messes in my home! I didn't know I needed create a solution for one more pile of clutter.Here is how I solved my problem.Having six people at home has led to our family having a pile of masks on the counter by the back door. In an effort to organize and declutter this pile of masks this past weekend, I made a simple mask holder.
Items You Will Need
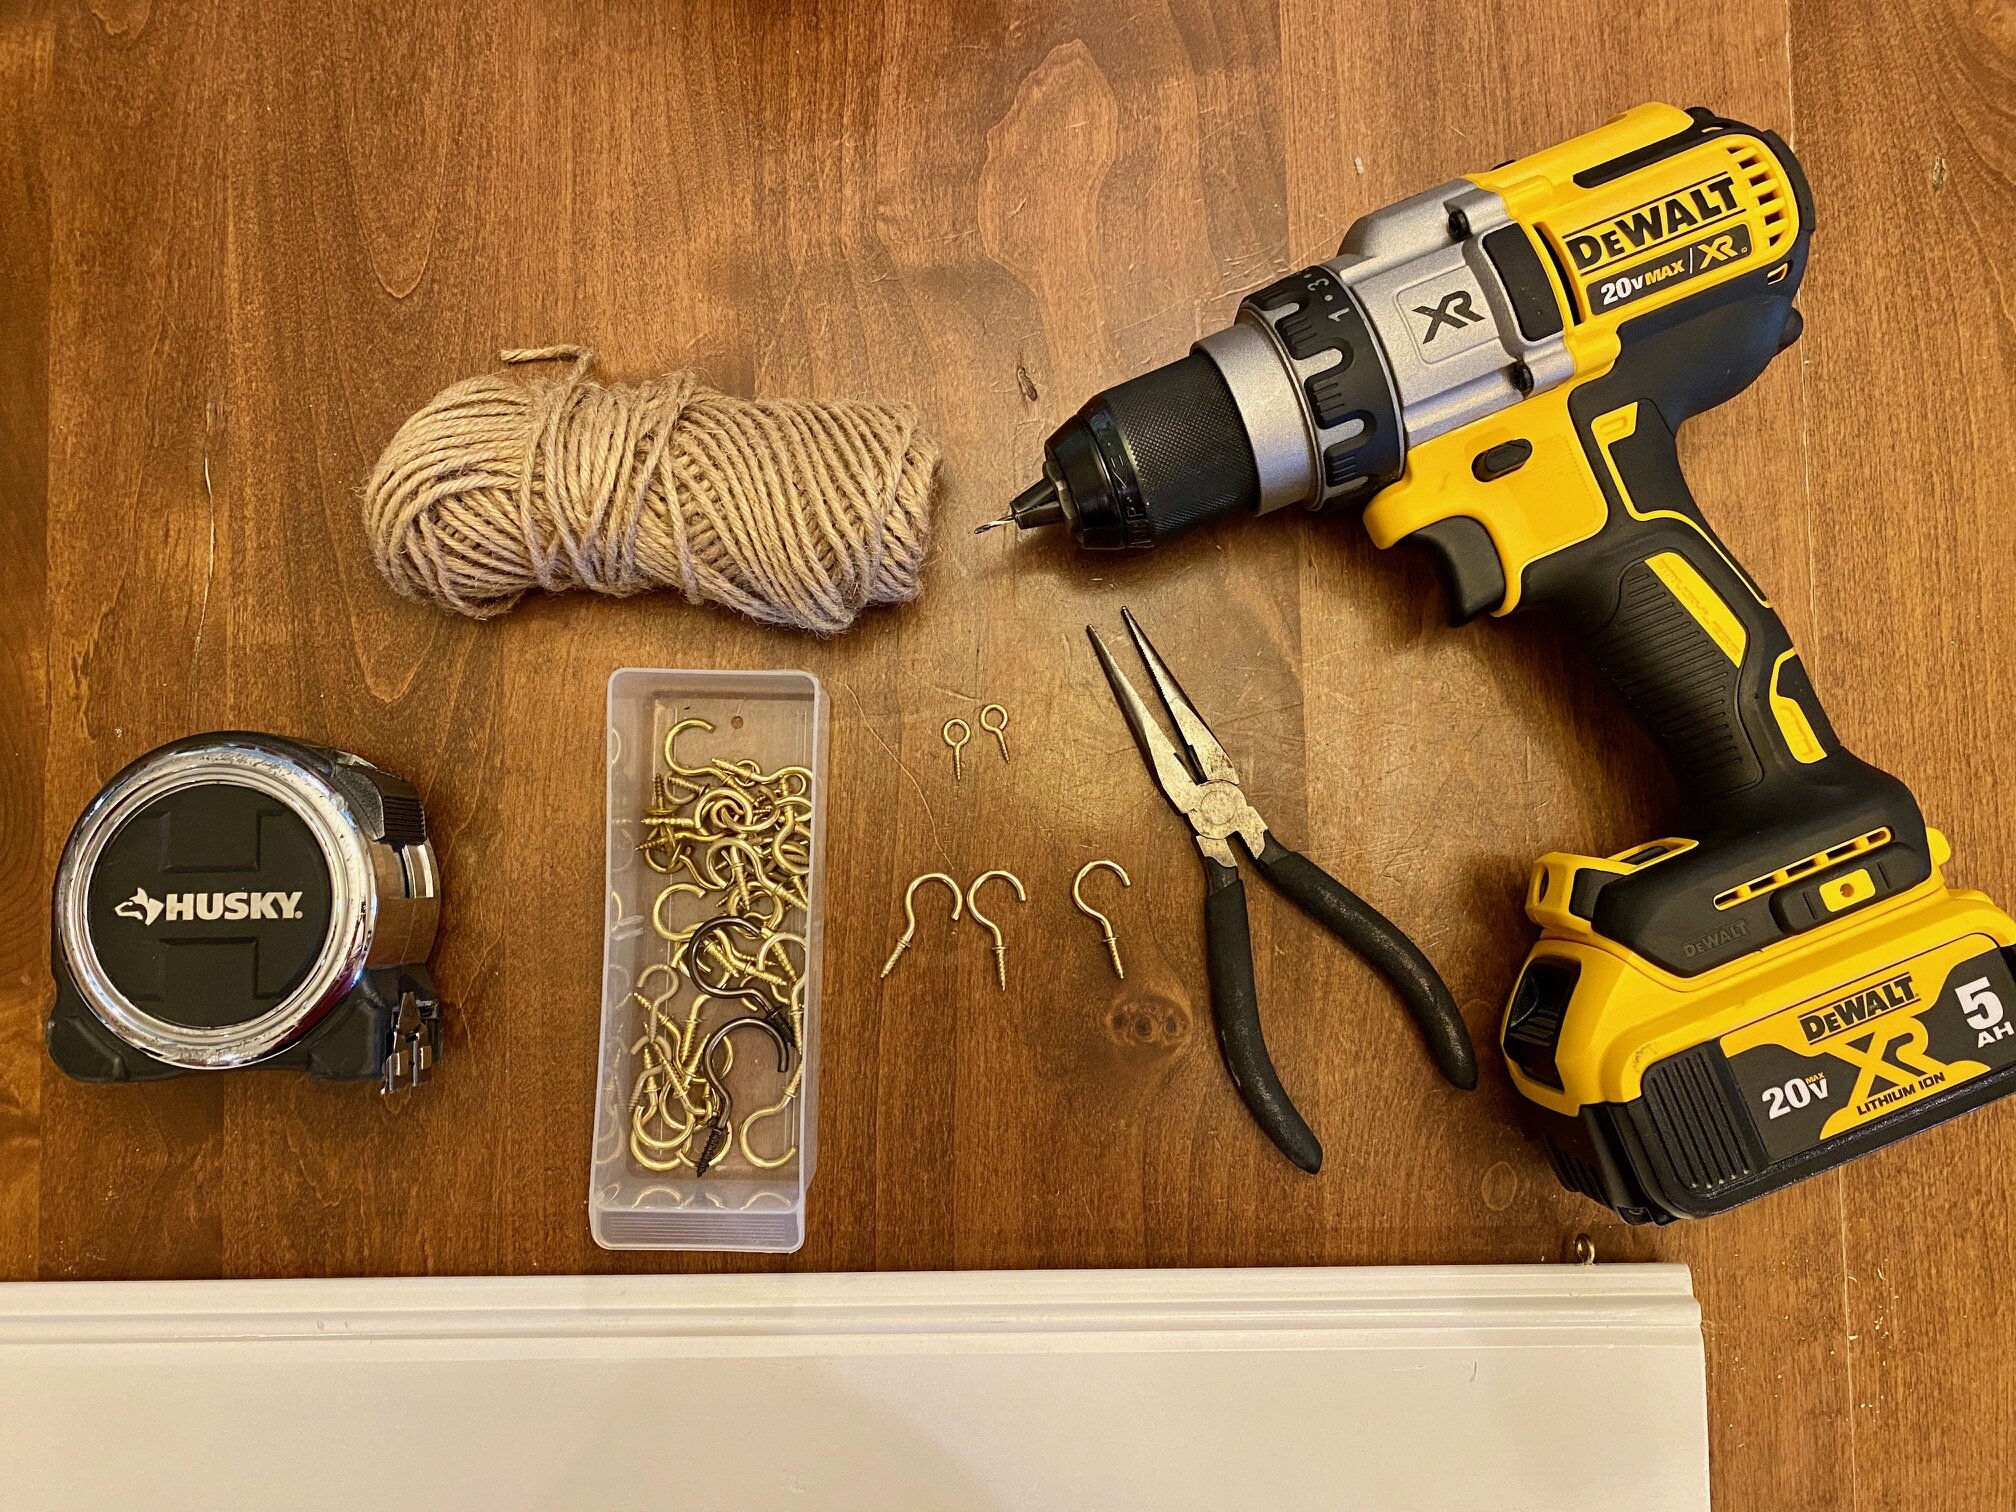
Screwdriver
1/16 inch drill bit
Pliers
Measuring Tape
Twine
Scissors
Pencil
A piece of scrap wood or molding (make sure your wood is thicker than your screw in hooks)
Spray Paint (if you want it painted)
Hooks to screw into your piece of wood (mine were 3/4 inch hooks)
Two Eye Hooks (or other way to attach twine to your wooden board--mine were about 1/4 inch round)
Stick on labels for family names (optional)
If you are making clean and dirty mask bags, you will need the following:
Plastic bags (one for clean masks, one for dirty masks--optional)
Packing tape
Hole punch
1. Measure the Area
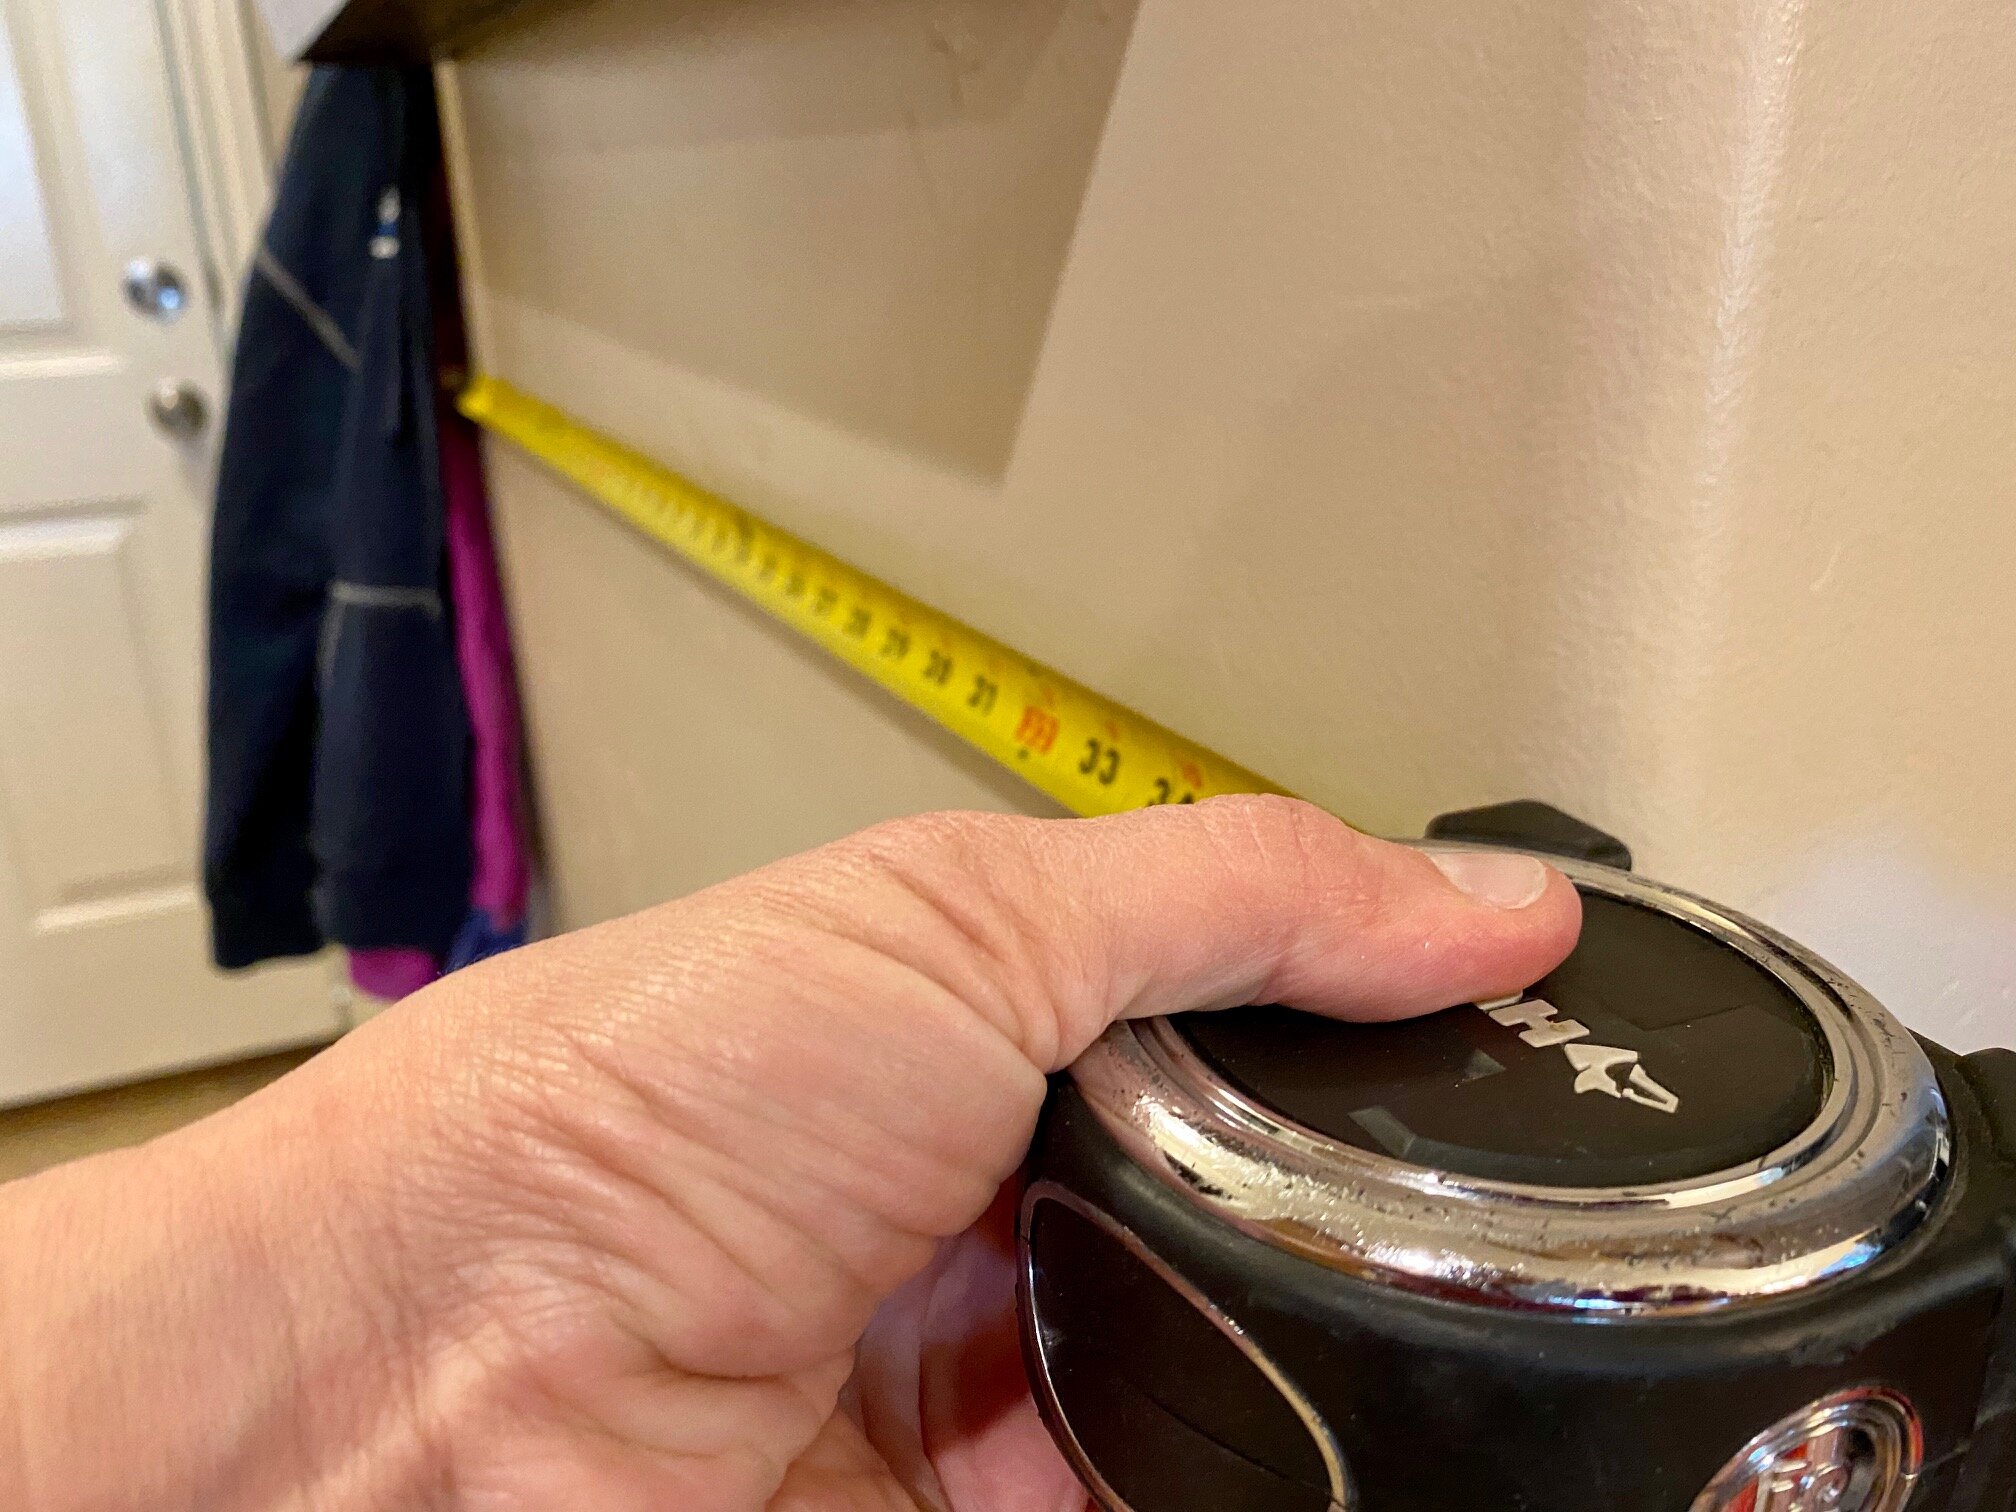
The first step in the process of building a mask holder is figuring out where you are going to hang it. You want it somewhere near your garage door (or the door going out to your car leaving your home).I have a little cubby that hangs on the wall where we keep all our car keys. I decided my mask holder would hang just below that so that the masks are ready to leave when members of my family leave.Measure where you want to place your mask holder on your wall with a measuring tape, so you know how much room you have. After this you can calculate how big or small your mask holder needs to be.Below you can see my available wall space was about 37 inches.
2. Decide Size
Also bear in mind how many hooks you would like to have. For example, I have six people in my home right now. So, I want at least 6 hooks.But I also want to have a hook with a bag hanging from it for clean and dirty masks so that I can ensure people always have a clean one when they need it. So, I decided I needed 8 hooks and I should make my mask holder large enough to fit that many masks with several inches in between.I decided to make my mask holder 31 inches long.
3. Cut Wood and Spray Paint
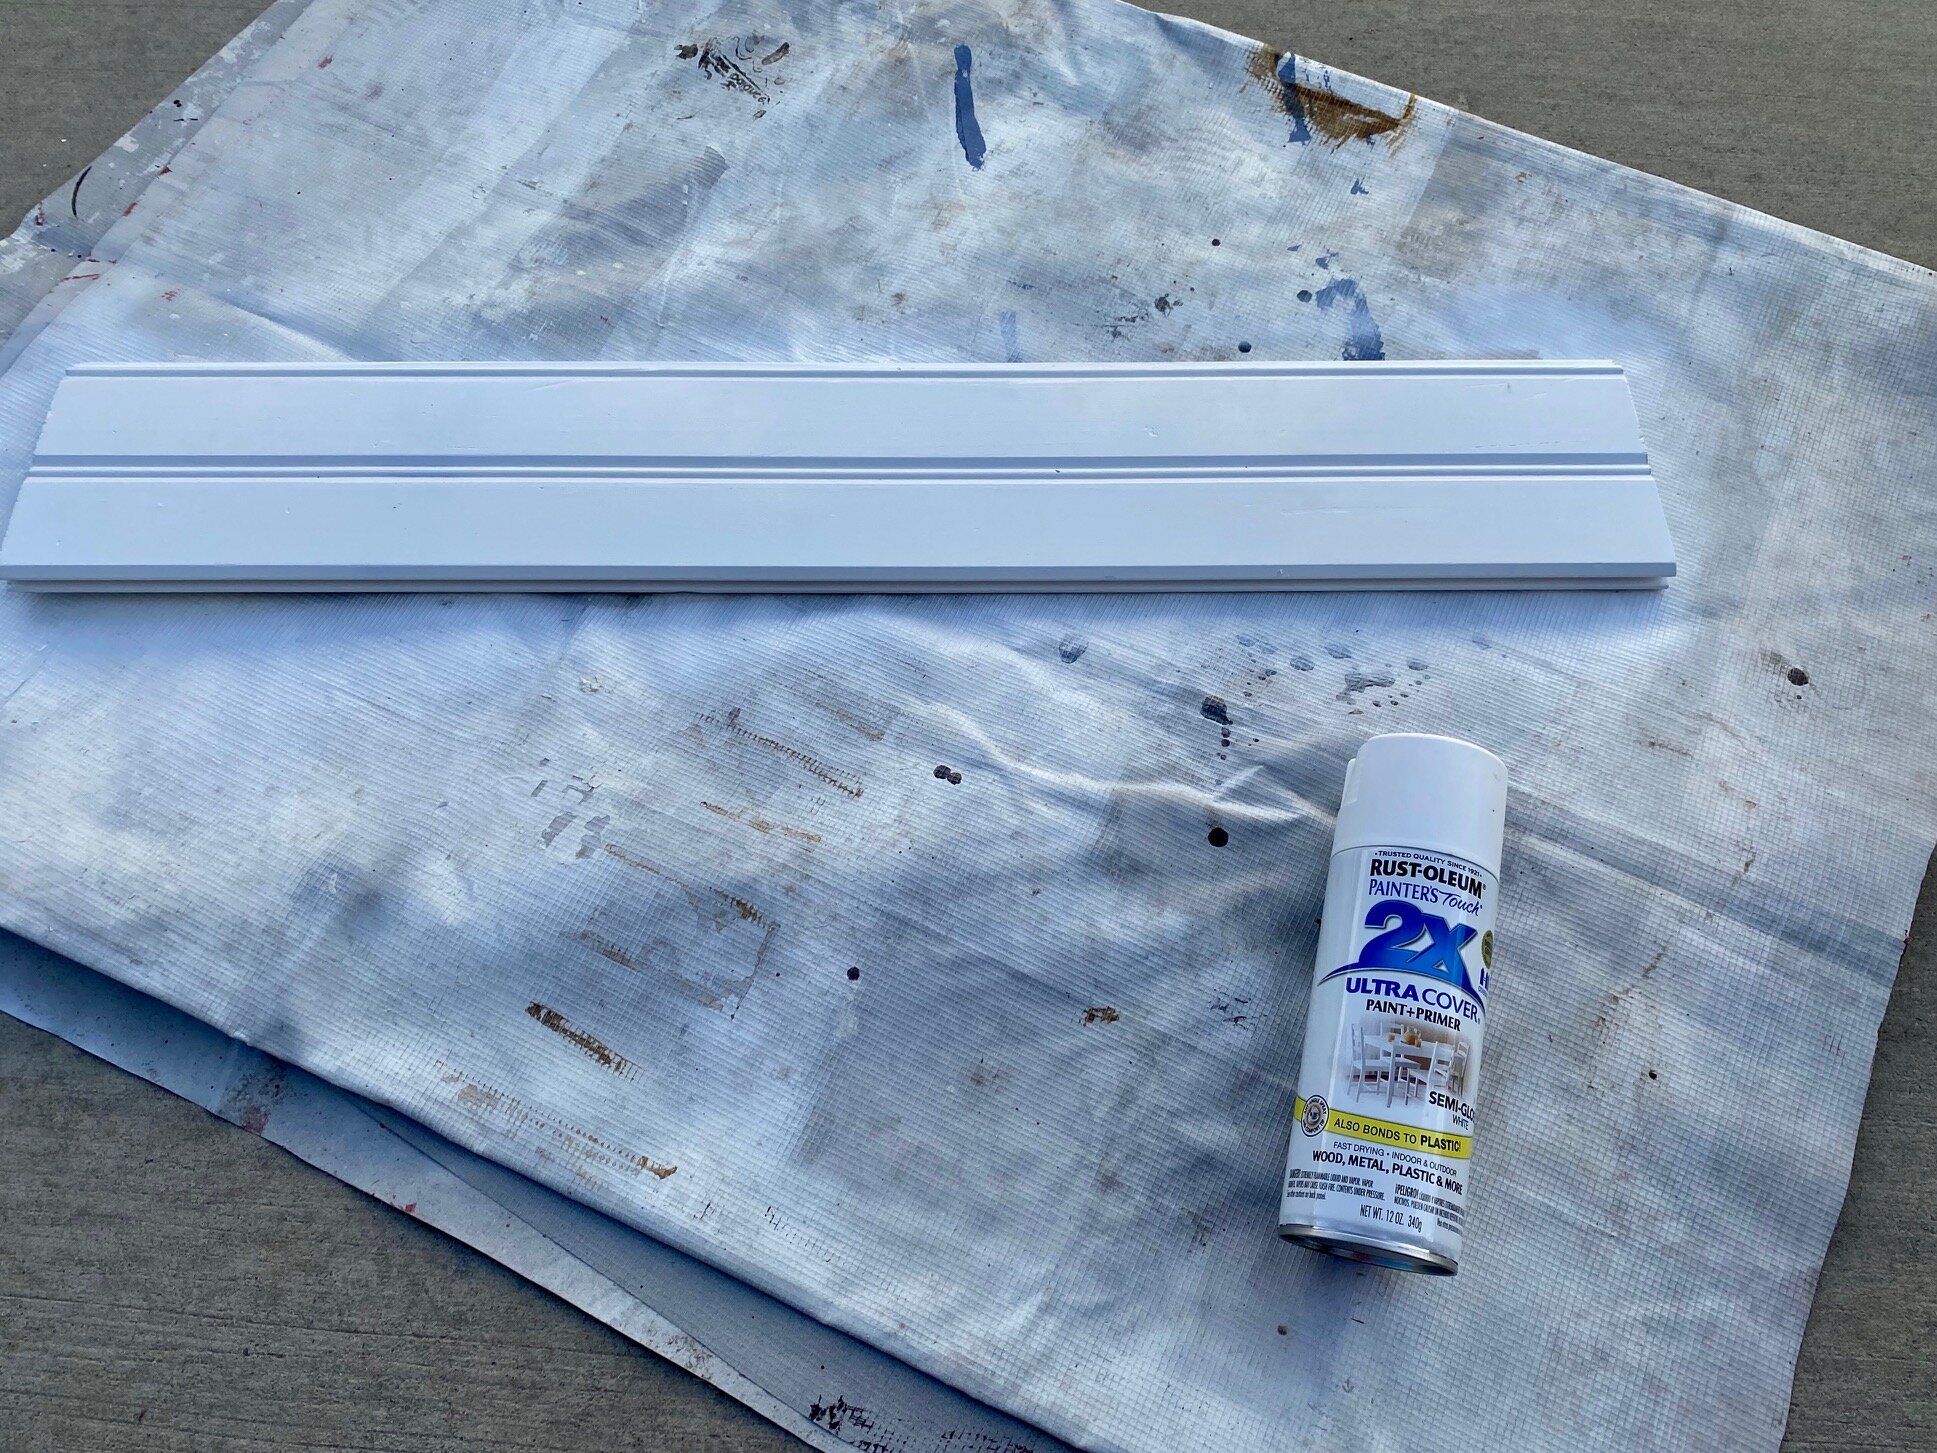
If you do not have a piece of wood or molding that fits your size, cut your board to size. Then spray paint it to match your decor. I chose to spray paint mine white. Be sure to spray paint in an open and vented area. You will probably need several coats of spray paint. Let your board dry according to the instructions on your can of spray paint.
4. Mark and Pre-Drill Holes
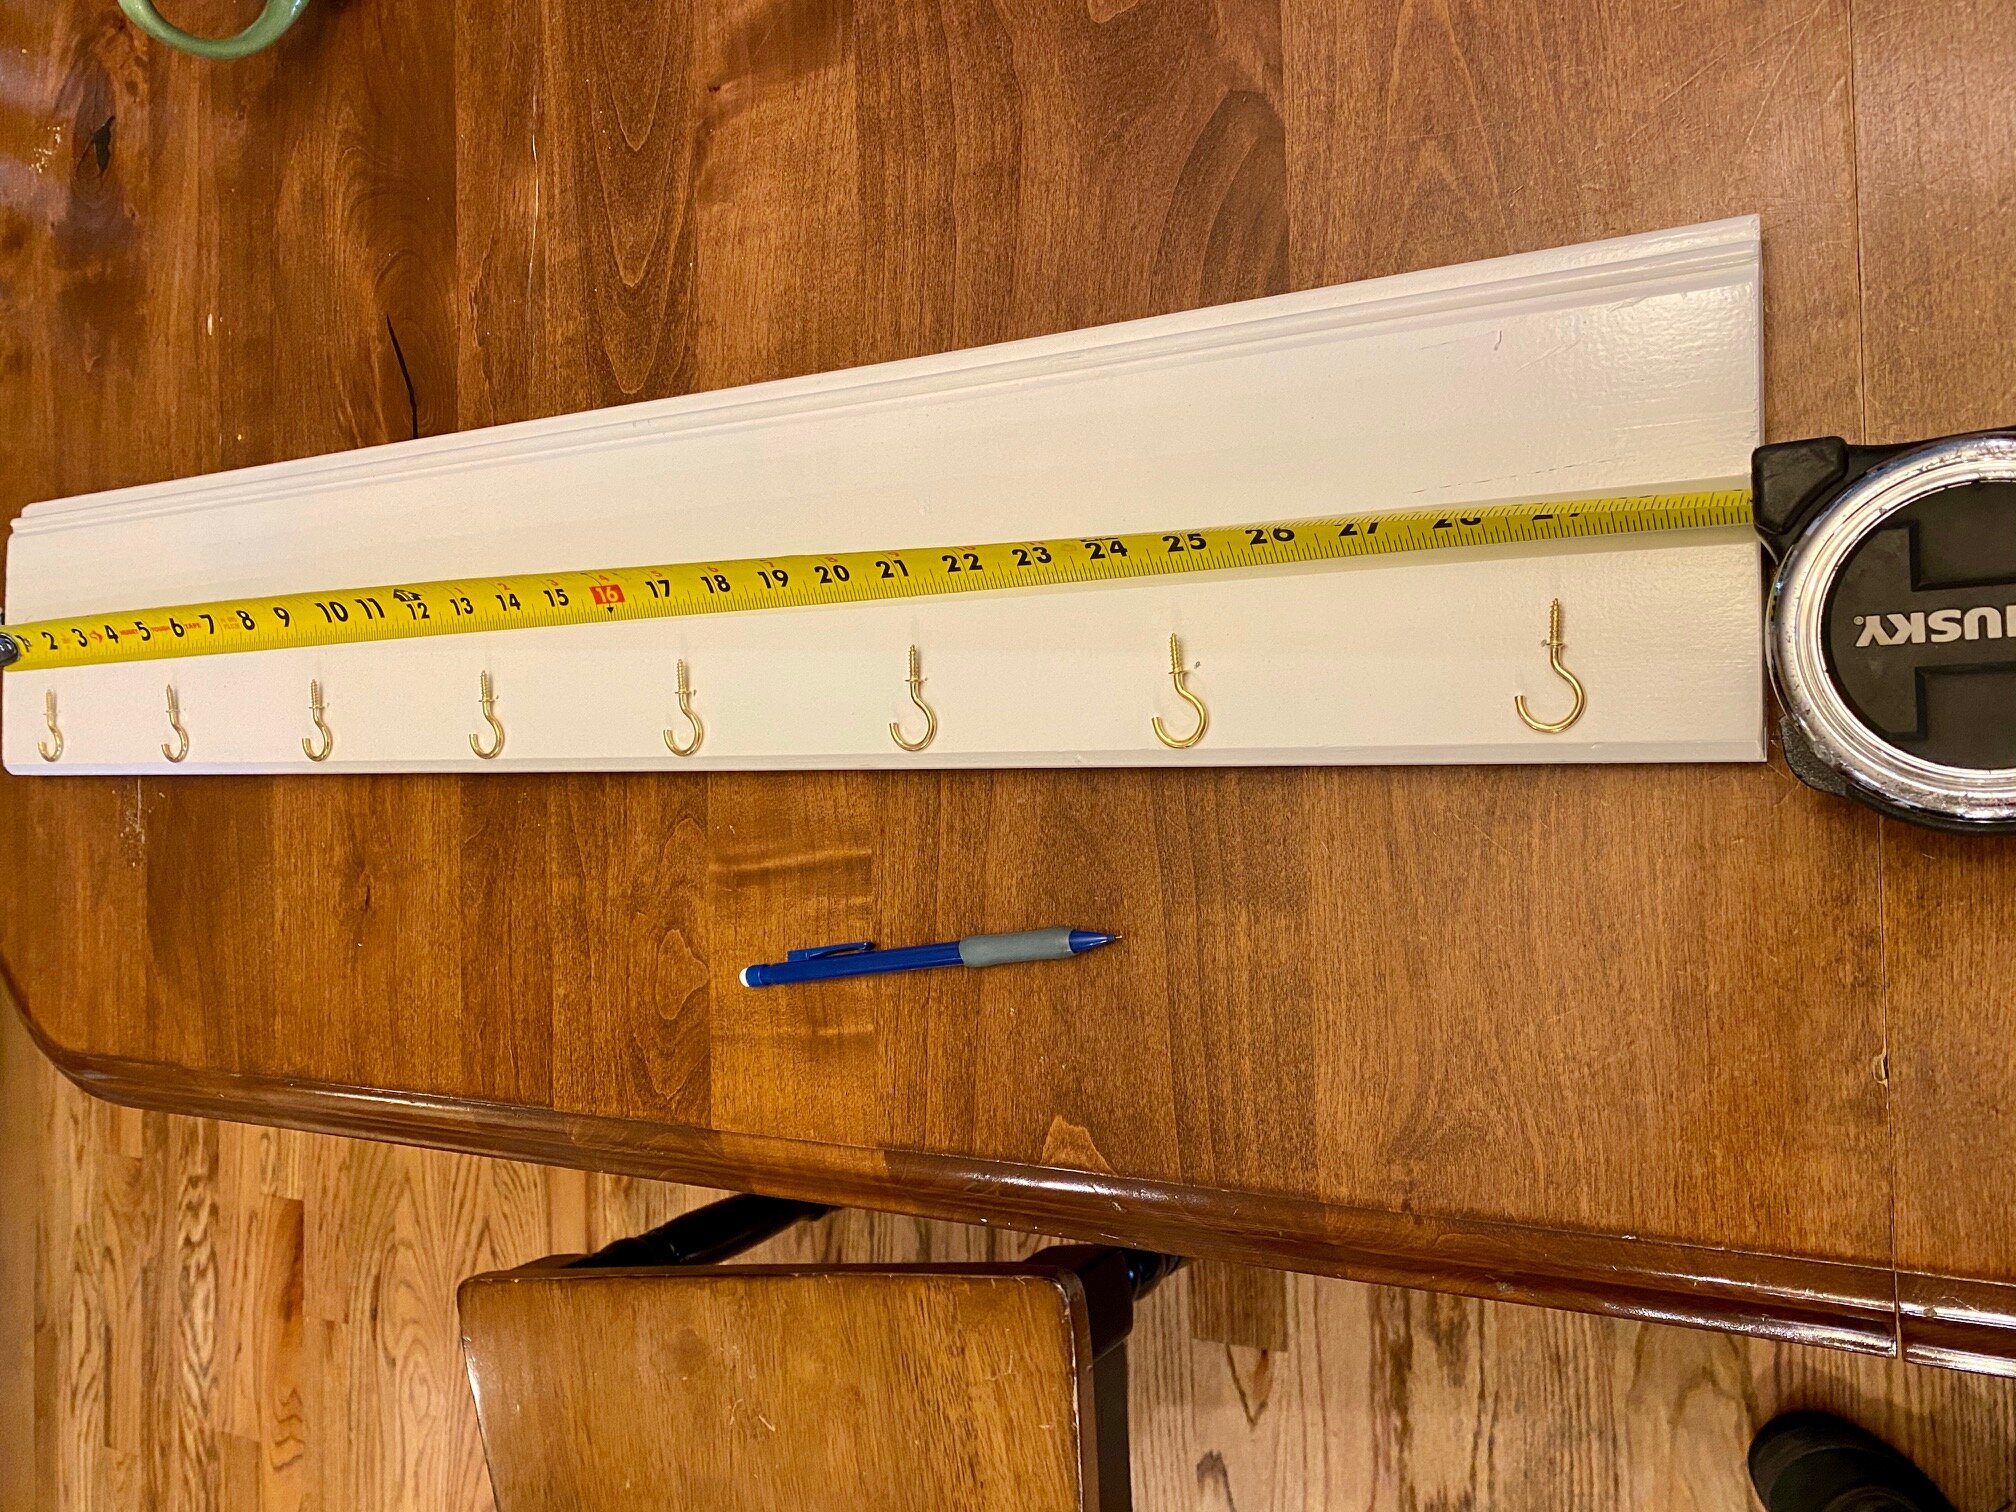
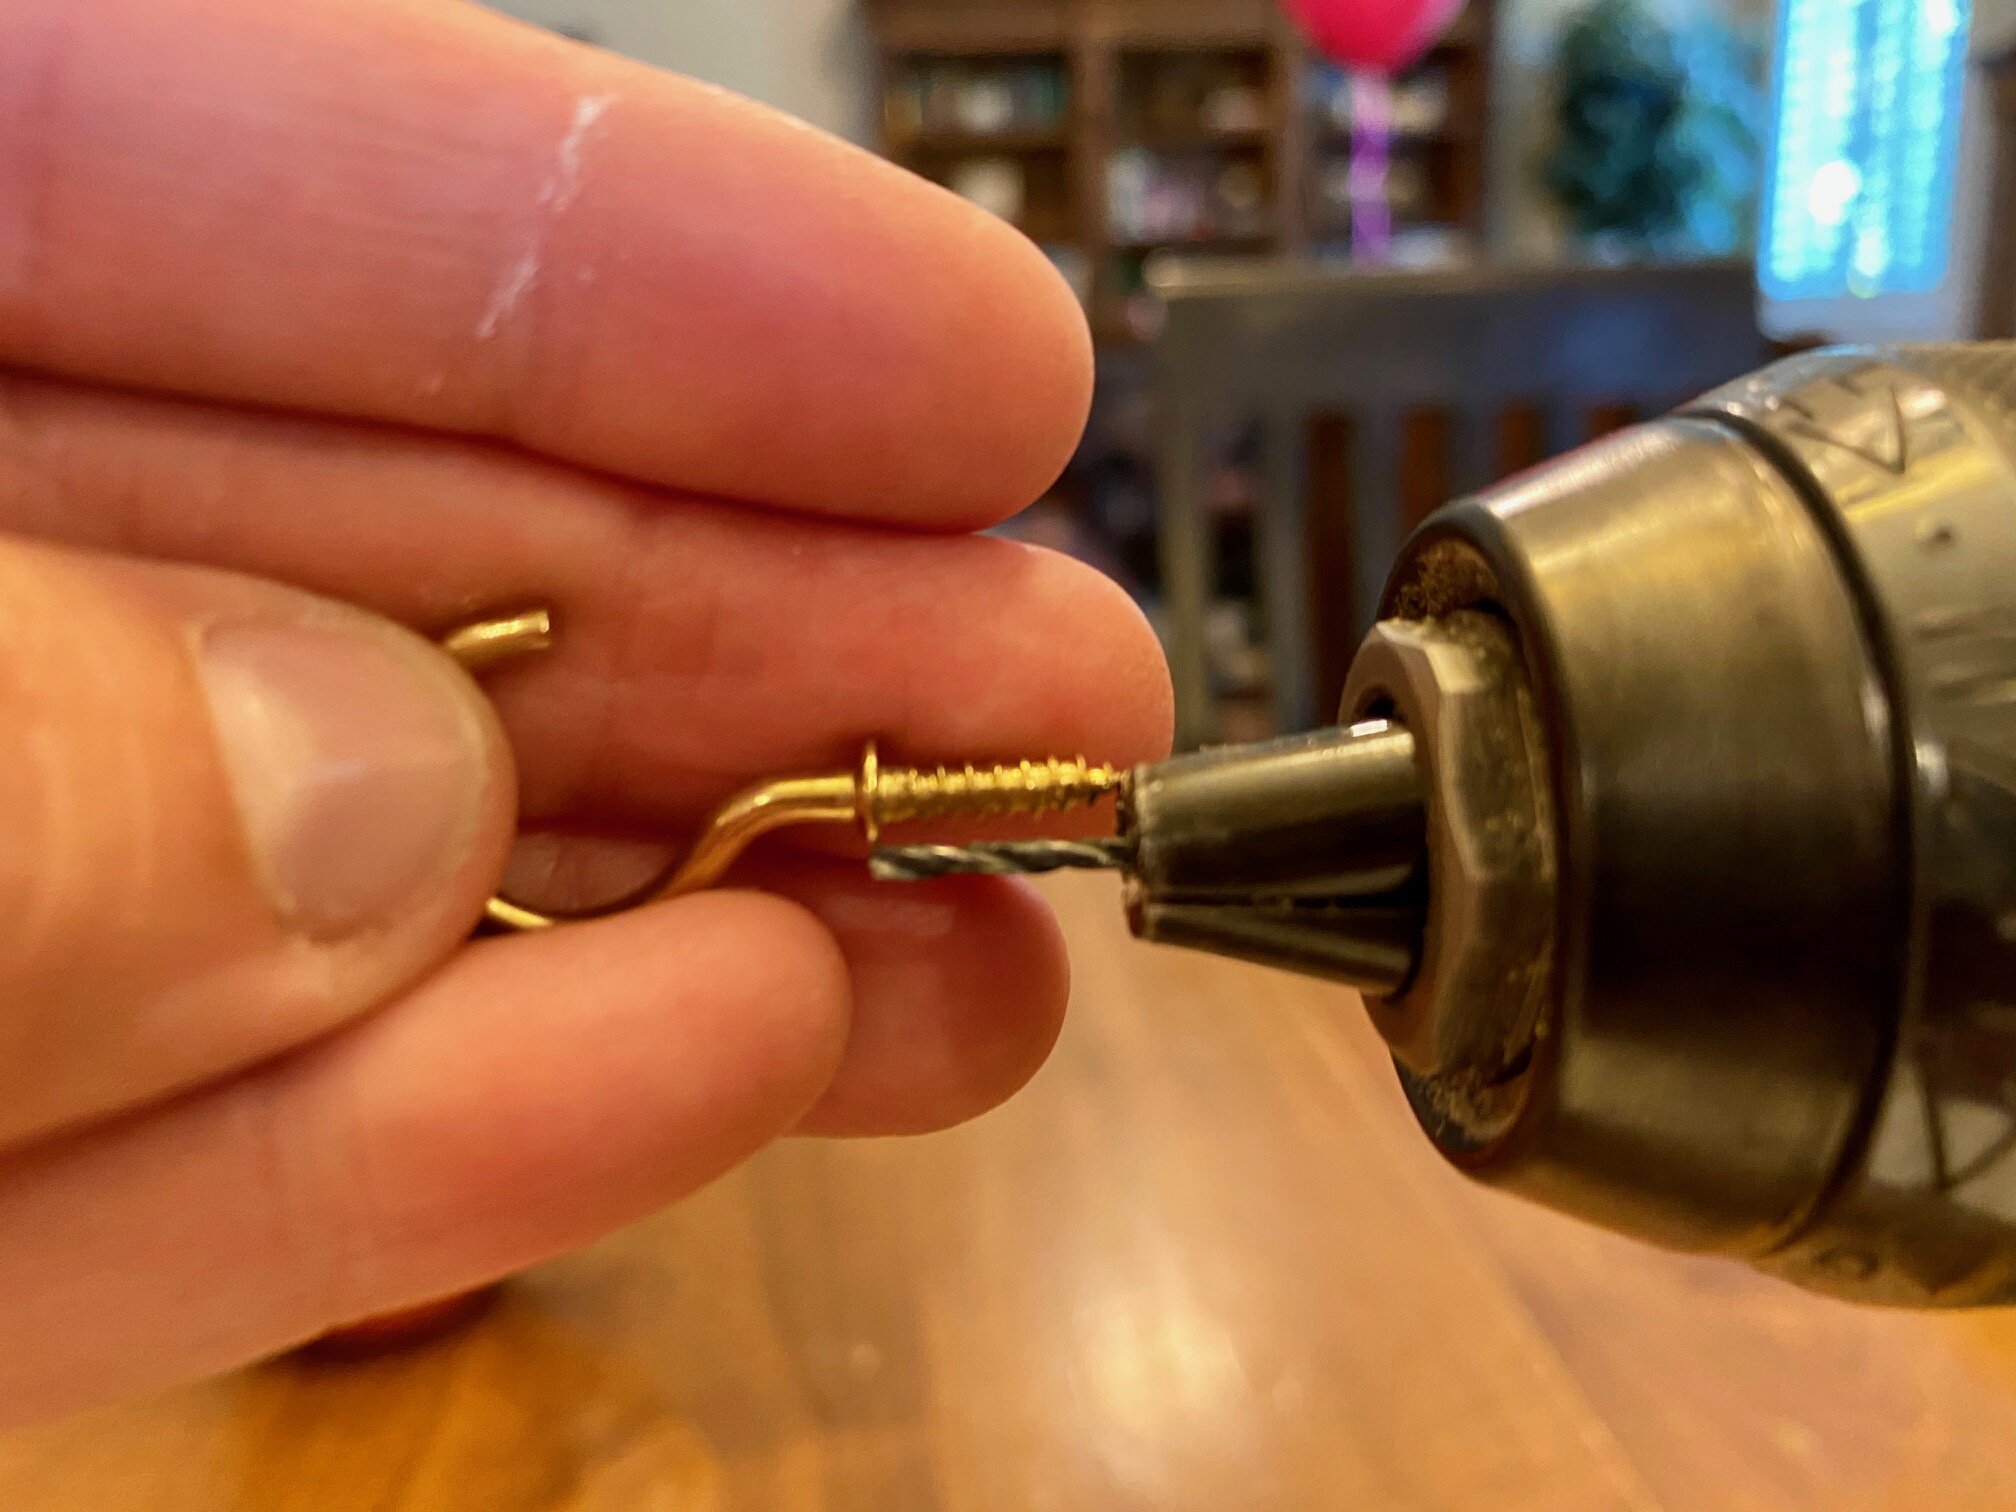
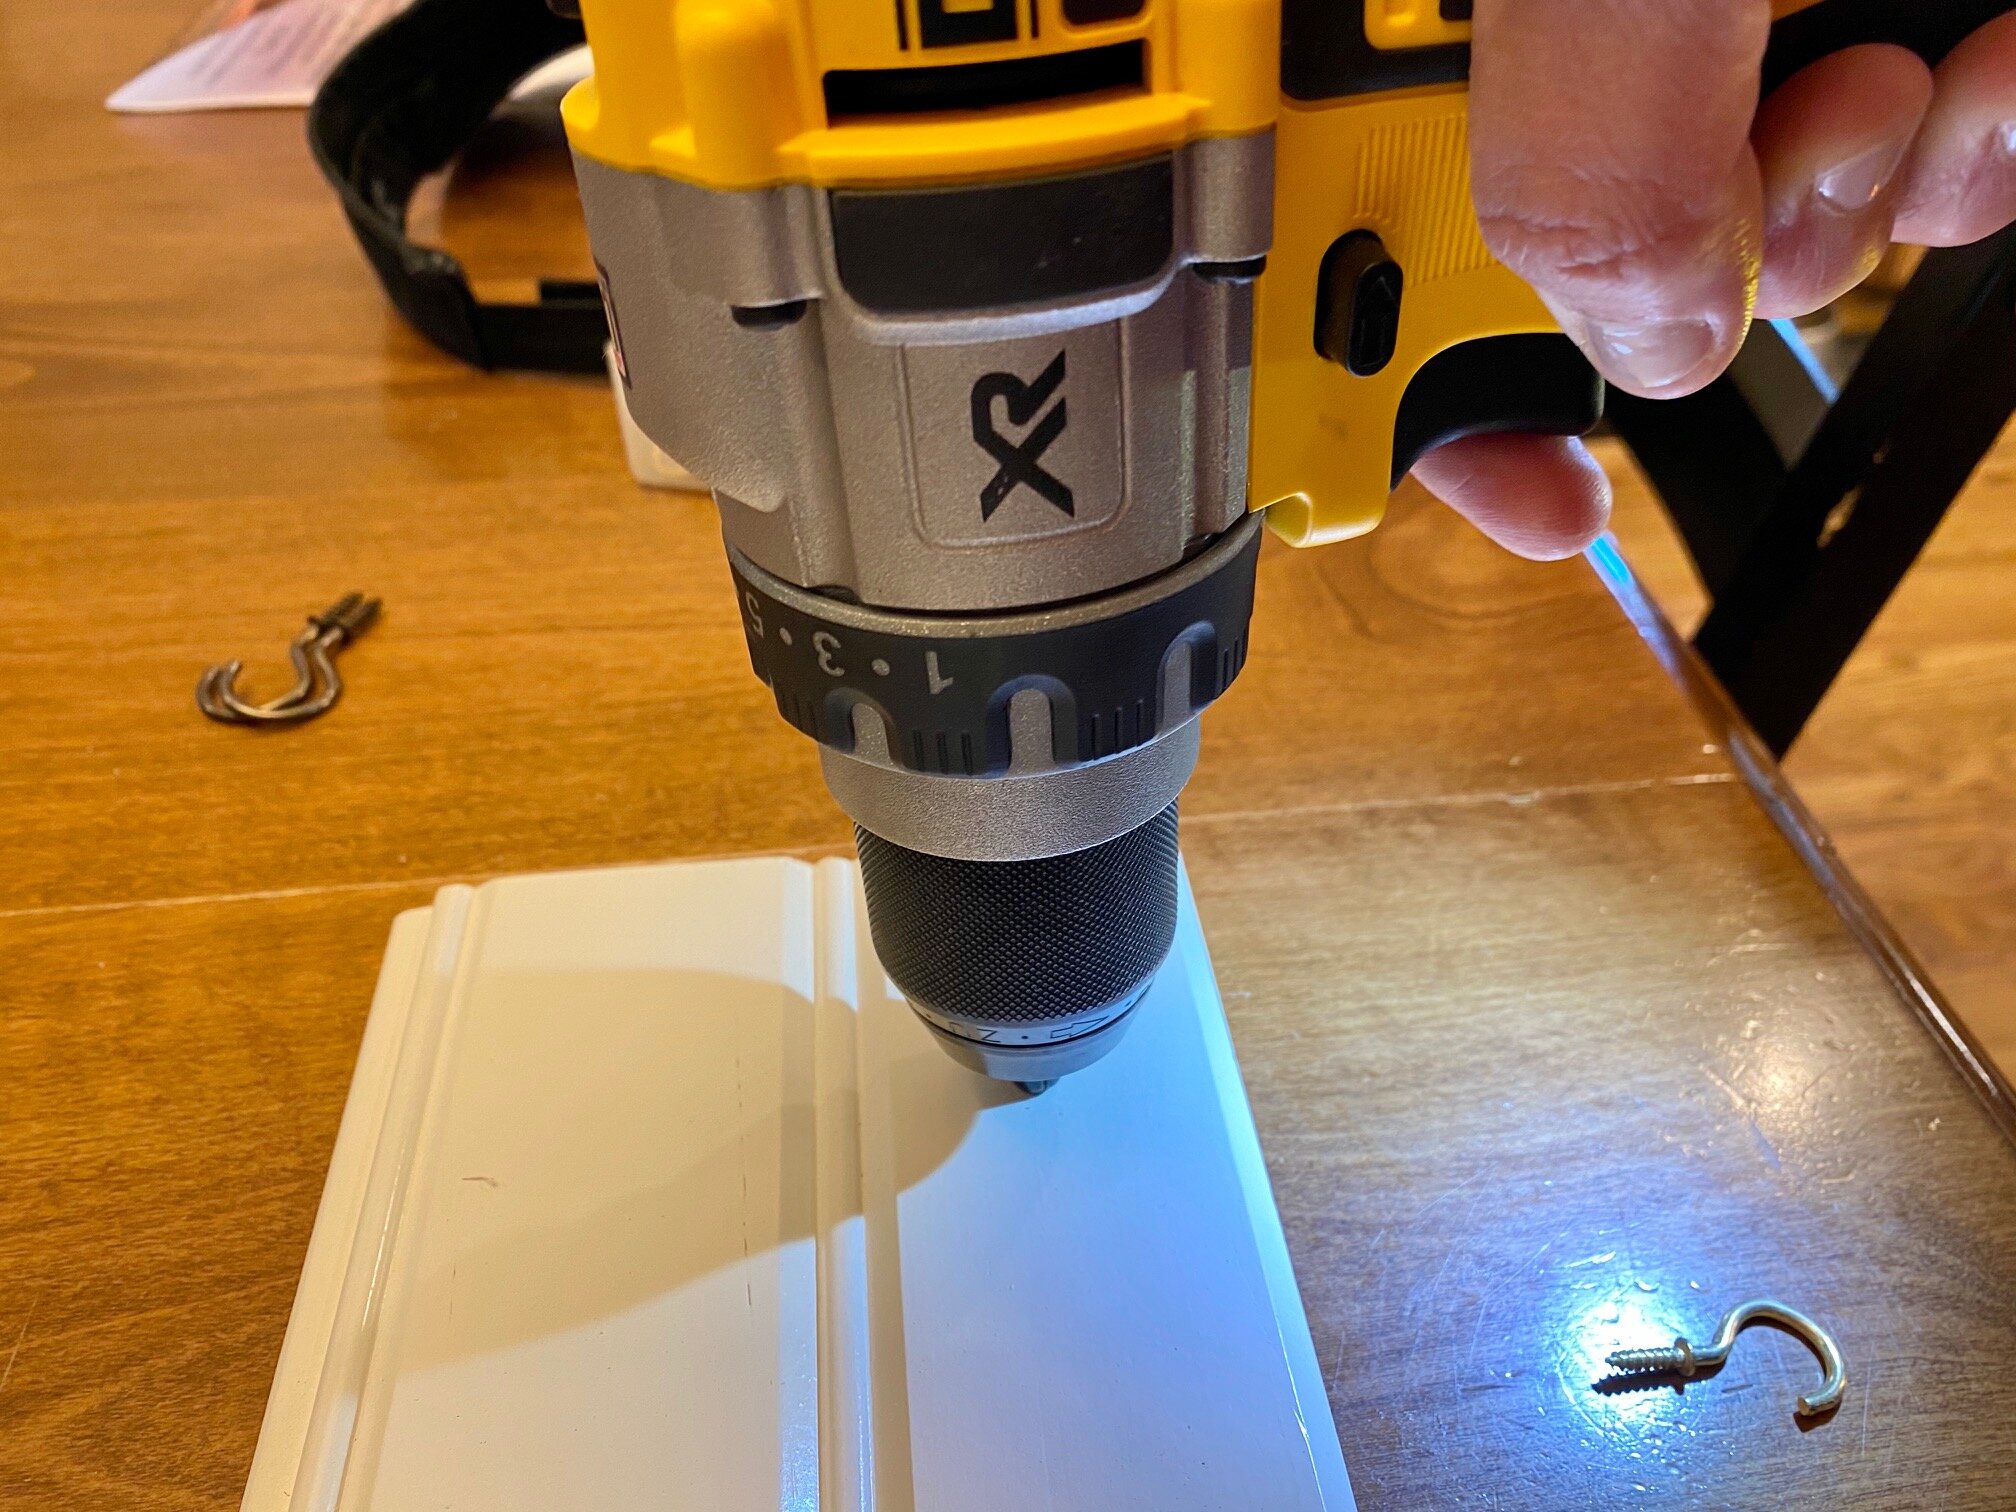
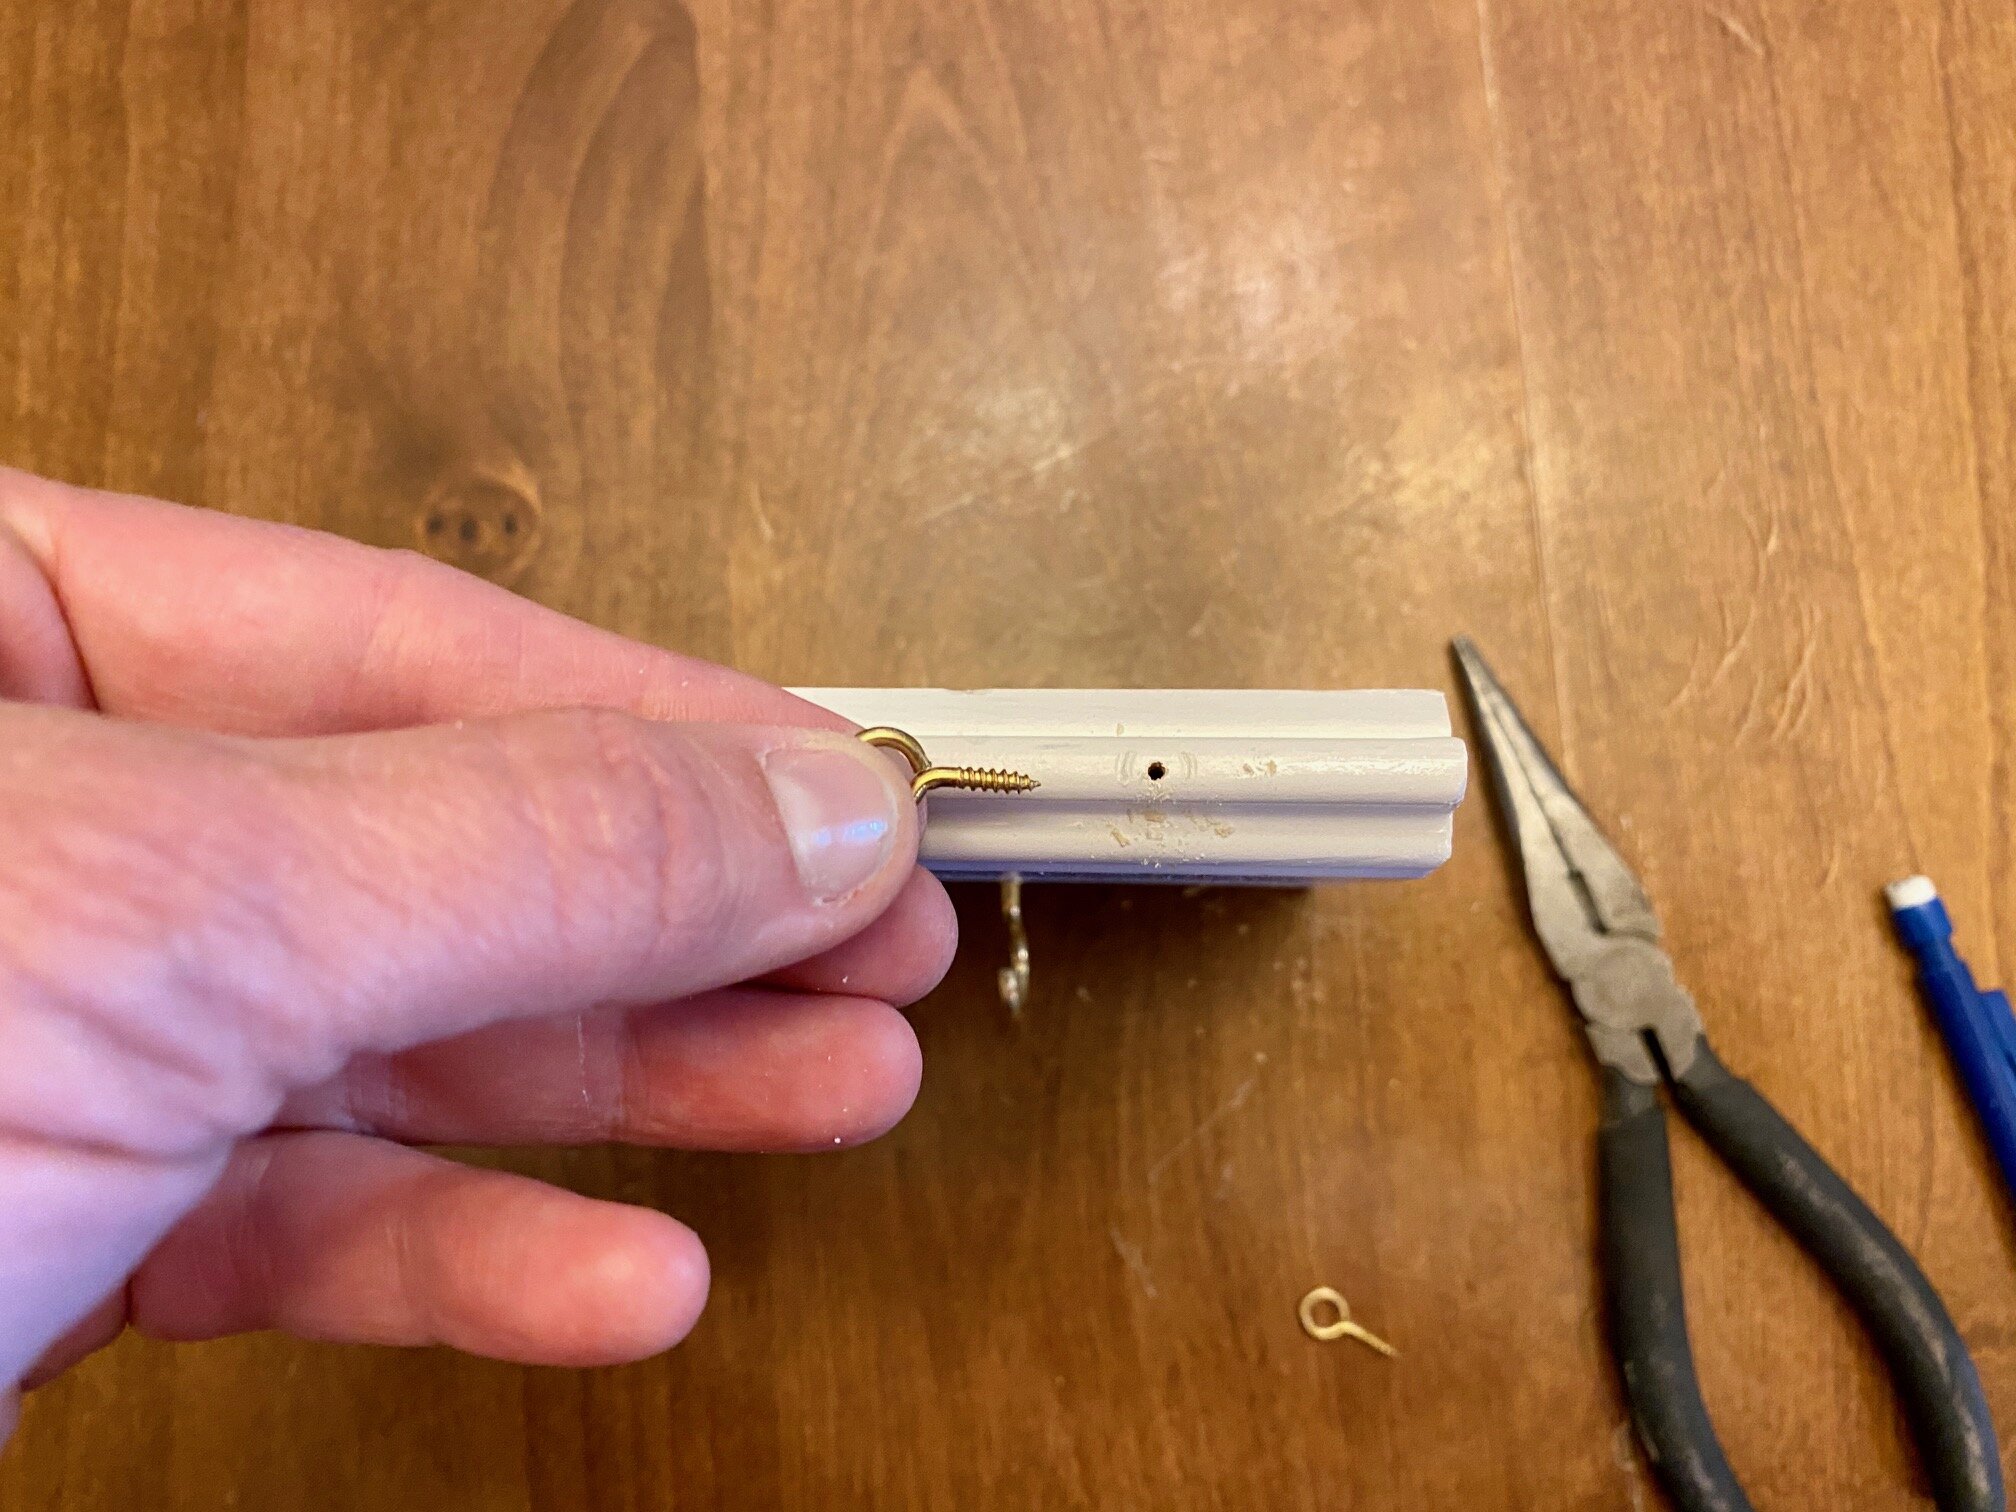
Once your board is dry, measure and mark with a pencil how far apart you want your holes pre-drilled for your screw-in hooks.I left about 2 inches on each end, and had about 3 3/4 inches between each of my 8 hooks. If you look at the photo above you can see my pencil marks showing where I should drill each hole.It is important to pre-drill a hole so that you don't split your wood. Be sure to choose a drill bit that is smaller than your screw size (like the photo below). Also, when you put your drill bit in your drill, make sure that the length poking out the end isn't longer than your screw size. You don't need to drill deeper than your screw.Then drill all your holes going straight down into the board.
5. Screw the Hooks In
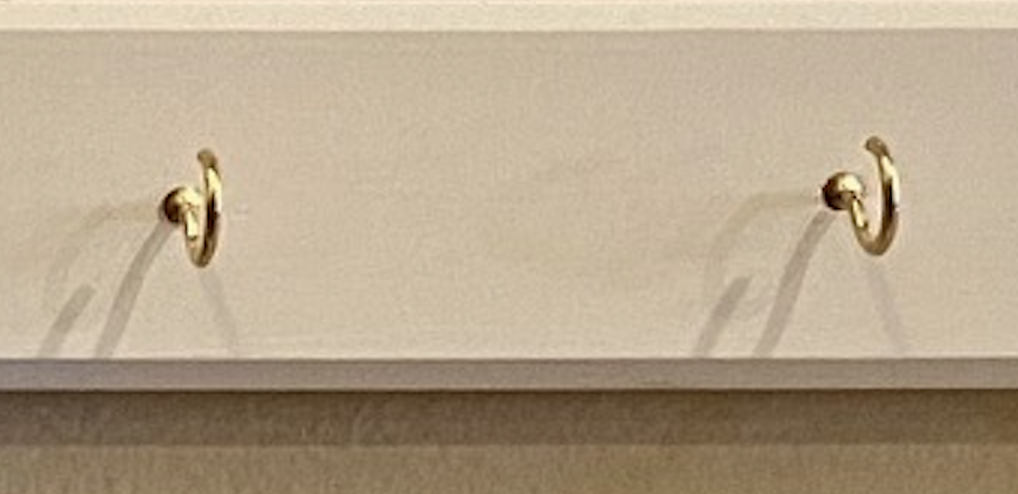
Once your holes are drilled, manually begin screwing your hooks in. You will find that you will need some pliers to help you get the hooks in all the way and align them straight.
6. Pre-Drill and Screw In Eye Hooks
If you are using eye hooks to hang your board, drill a hole on the top of your board on the top right and left and side. I placed mine about an inch from each edge (as seen in the photo below). Then screw the eye hooks in using your pliers.
7. Place Labels
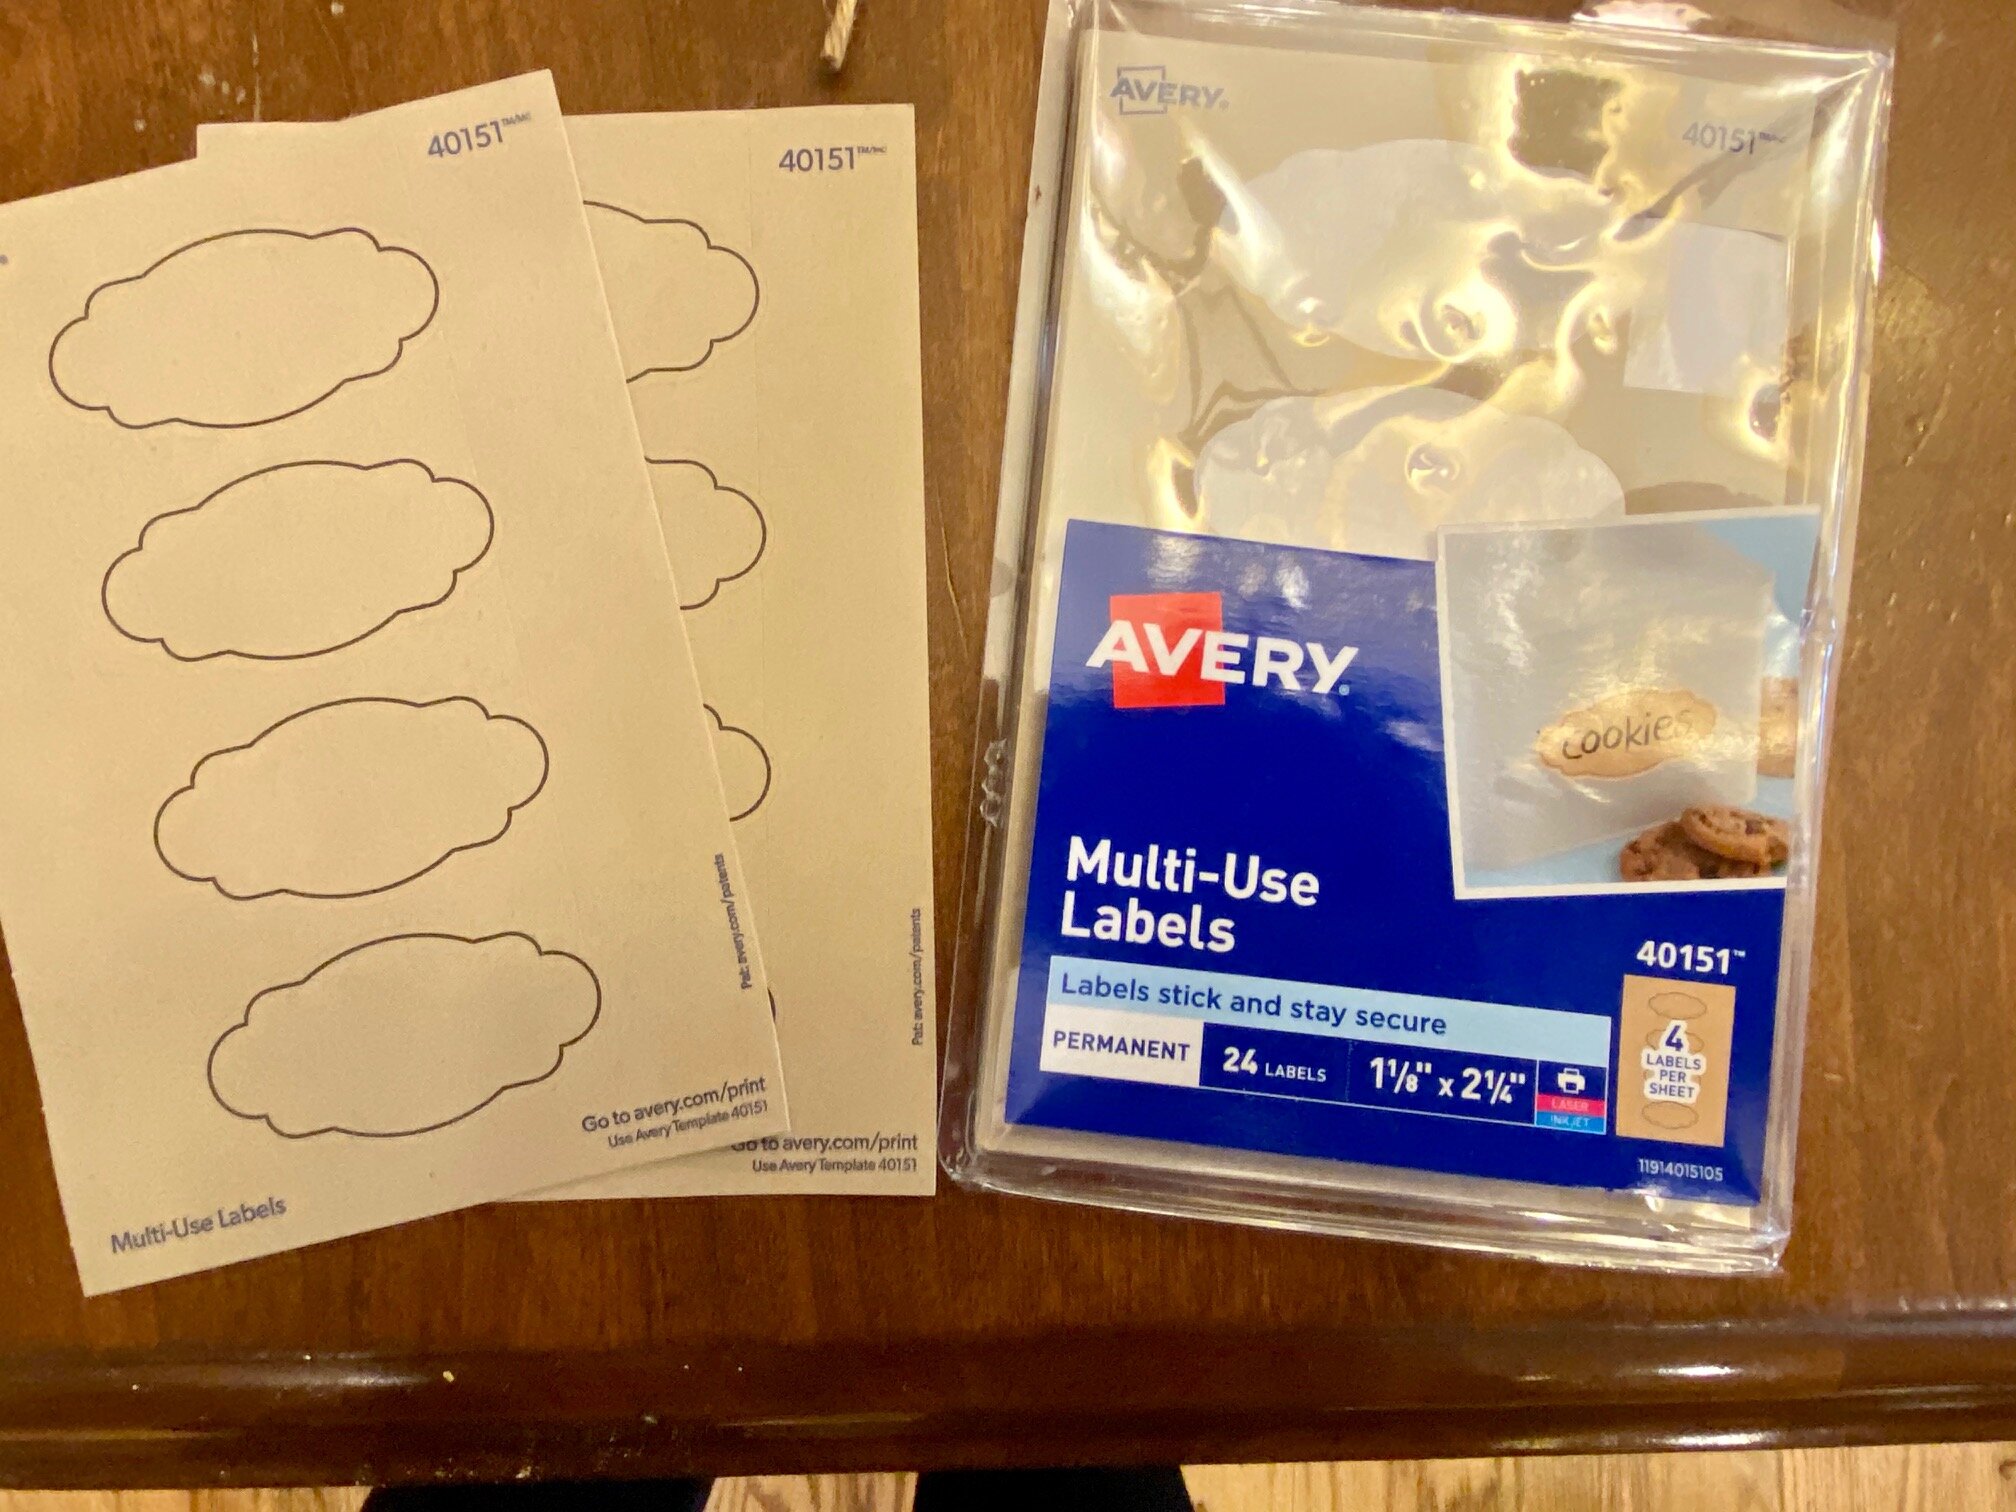
You can use any kind of pre-made blank stickers to label which member of your family should use each hook. You could even use a permanent marker and write their name above each hook. I used these Avery Decorative stickers or labels I happened to have in my drawer to label each of my hooks.
8. Tie Twine
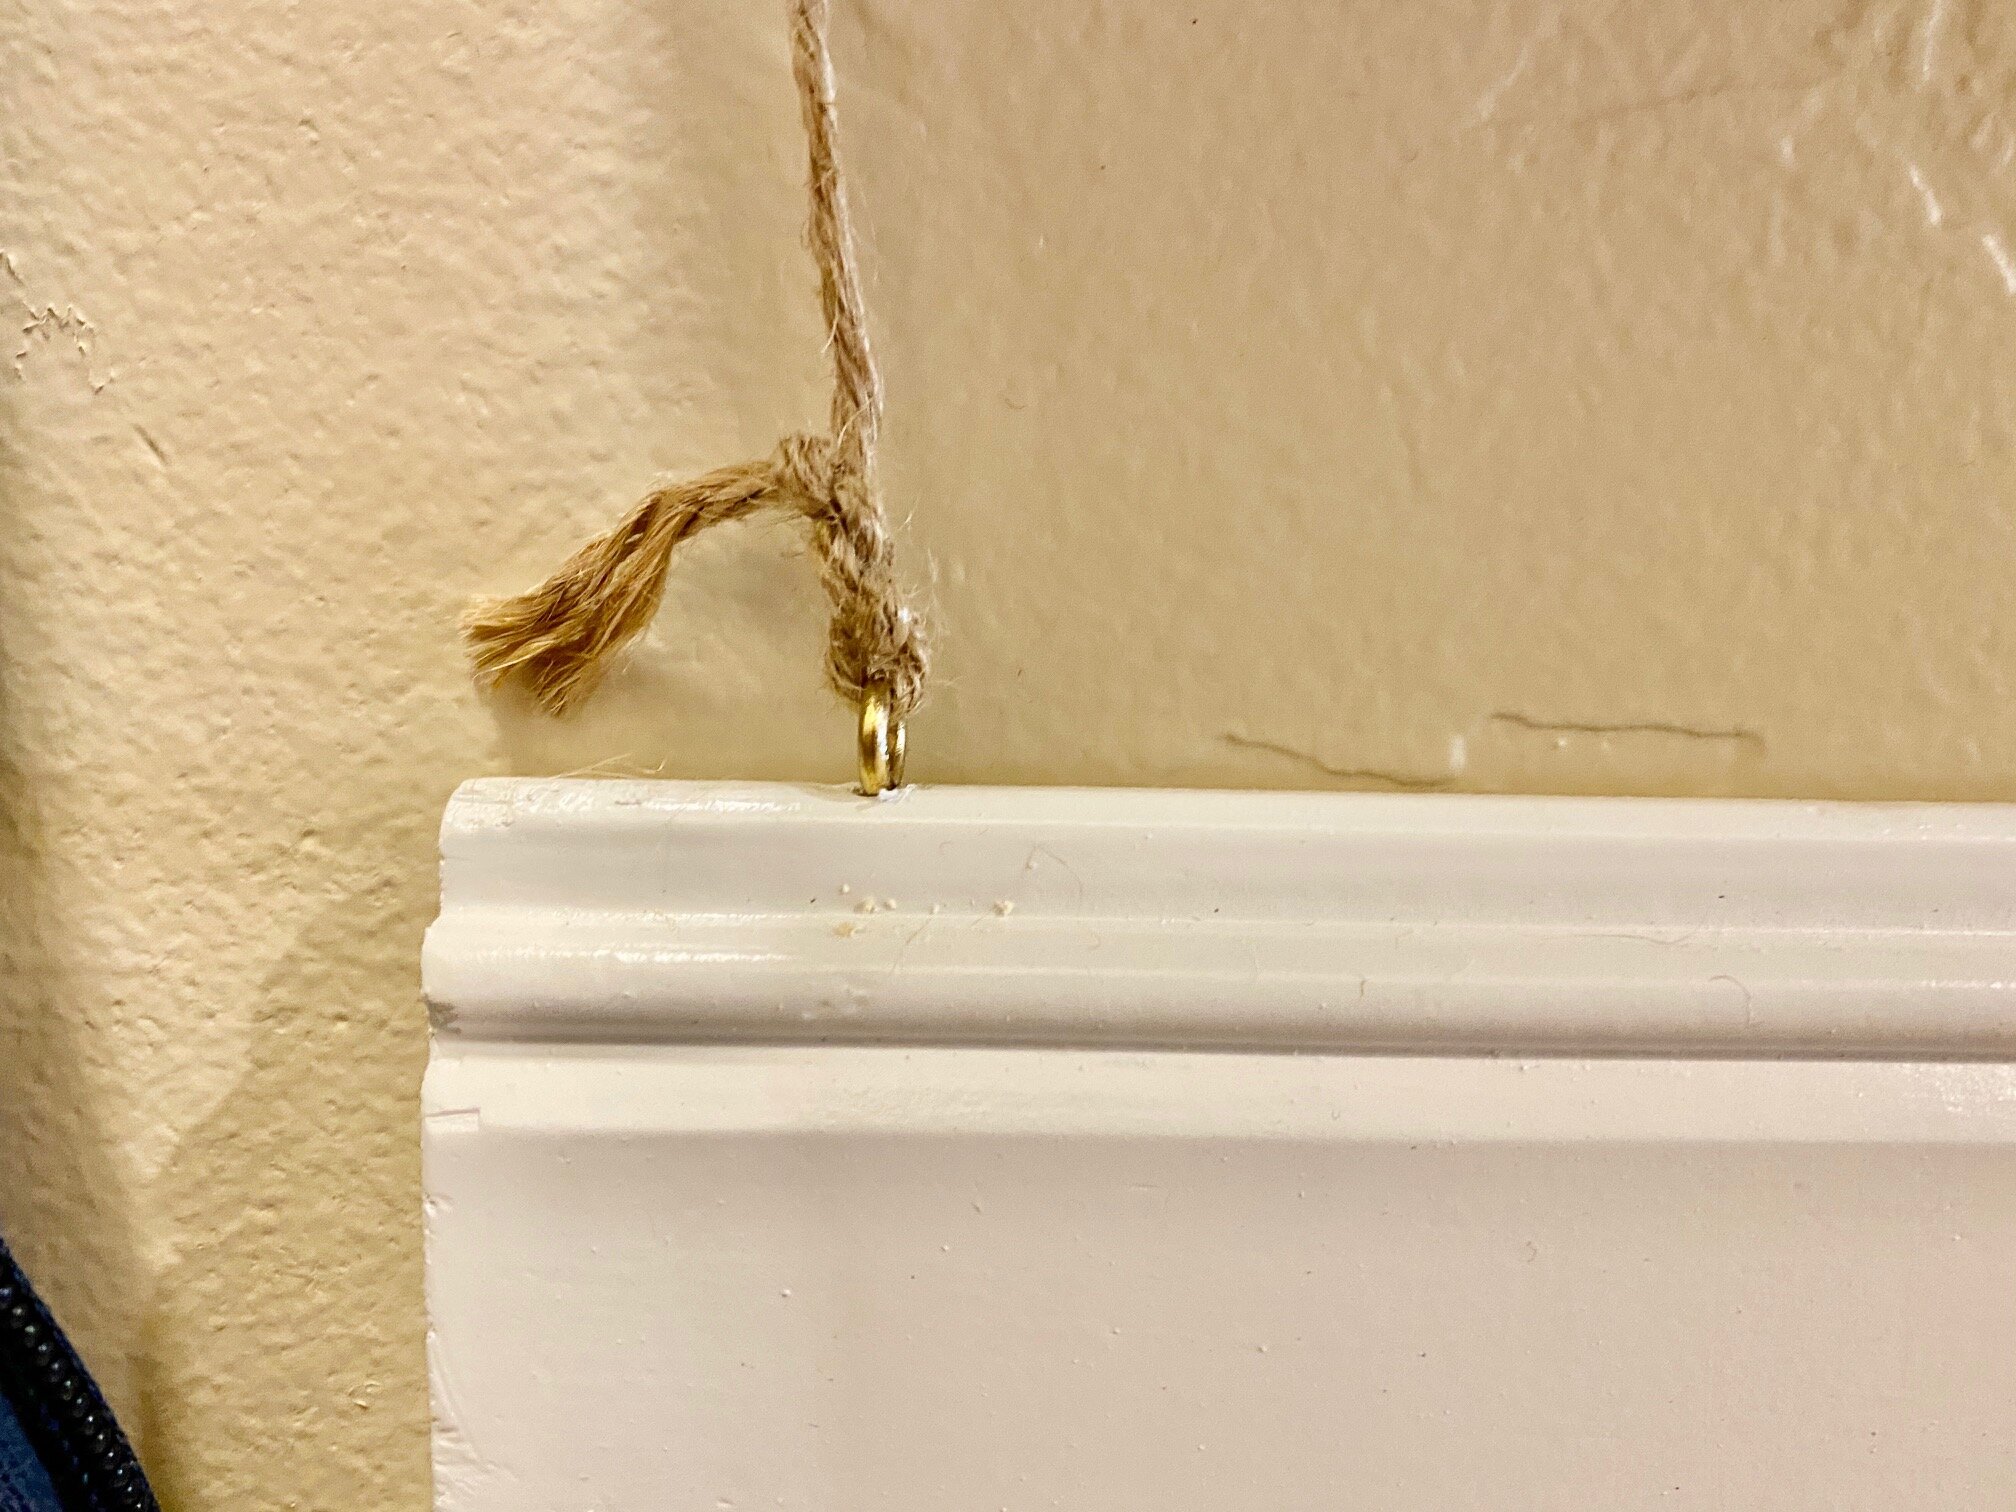
Now simply tie the twine through each eye hook and secure it with several knots. Do this on both sides and hang your board on the wall. I actually hooked my twine up and behind the key holder on top of the nails already there so that I didn't have to put another nail hole in the wall (since this is temporary, right?)
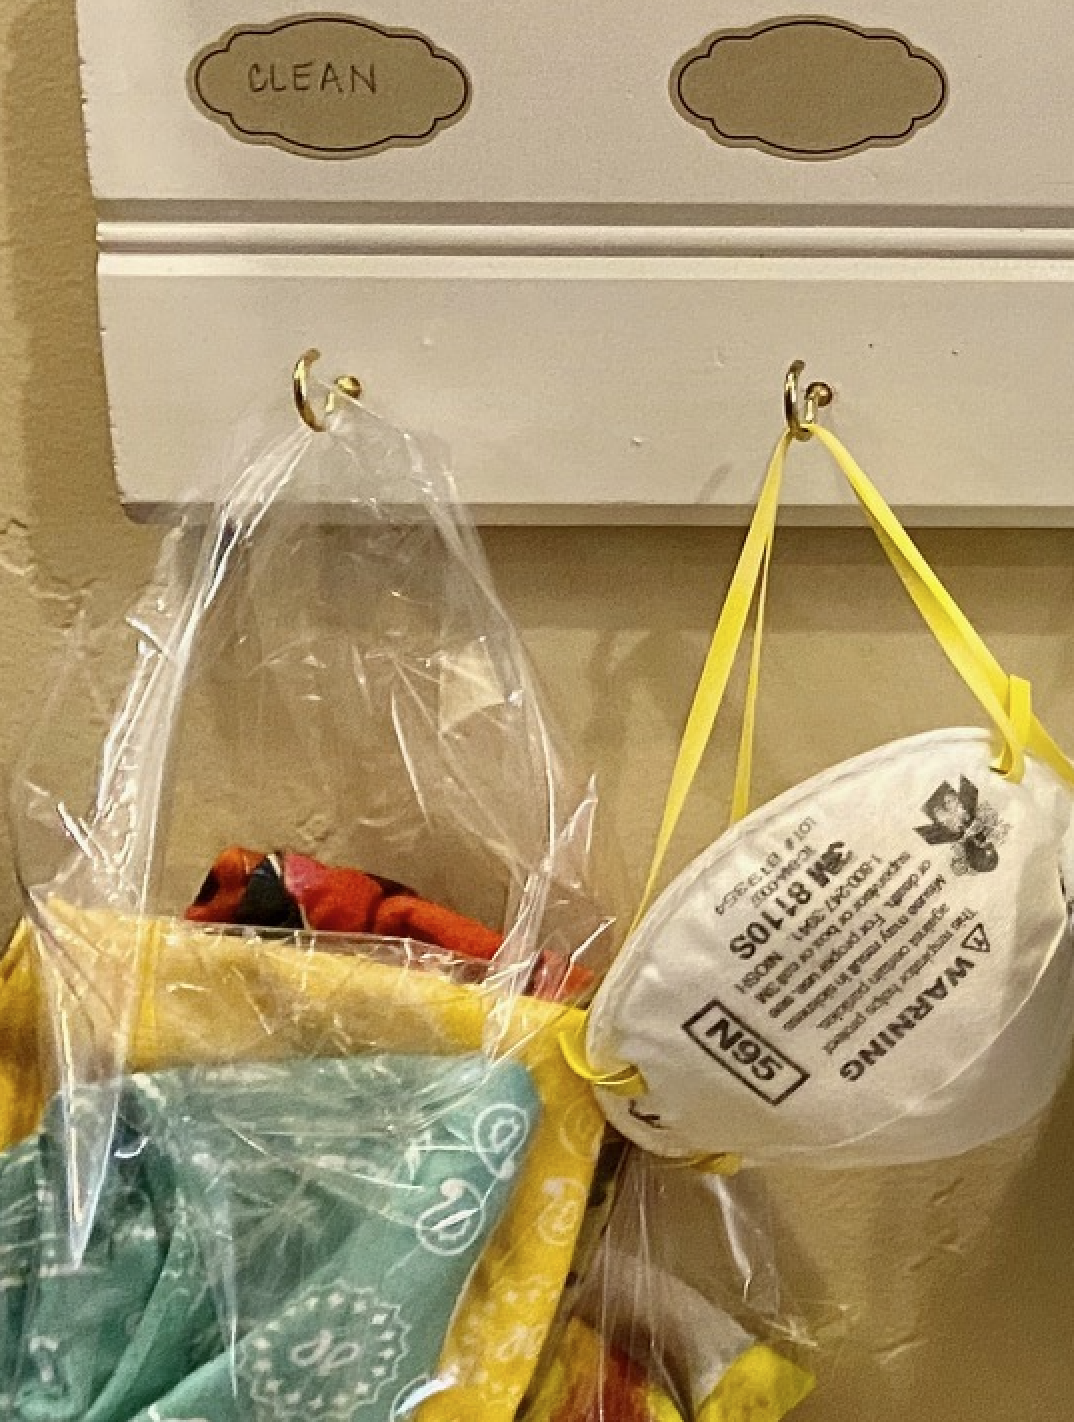
9. Make Clean and Dirty Mask bags
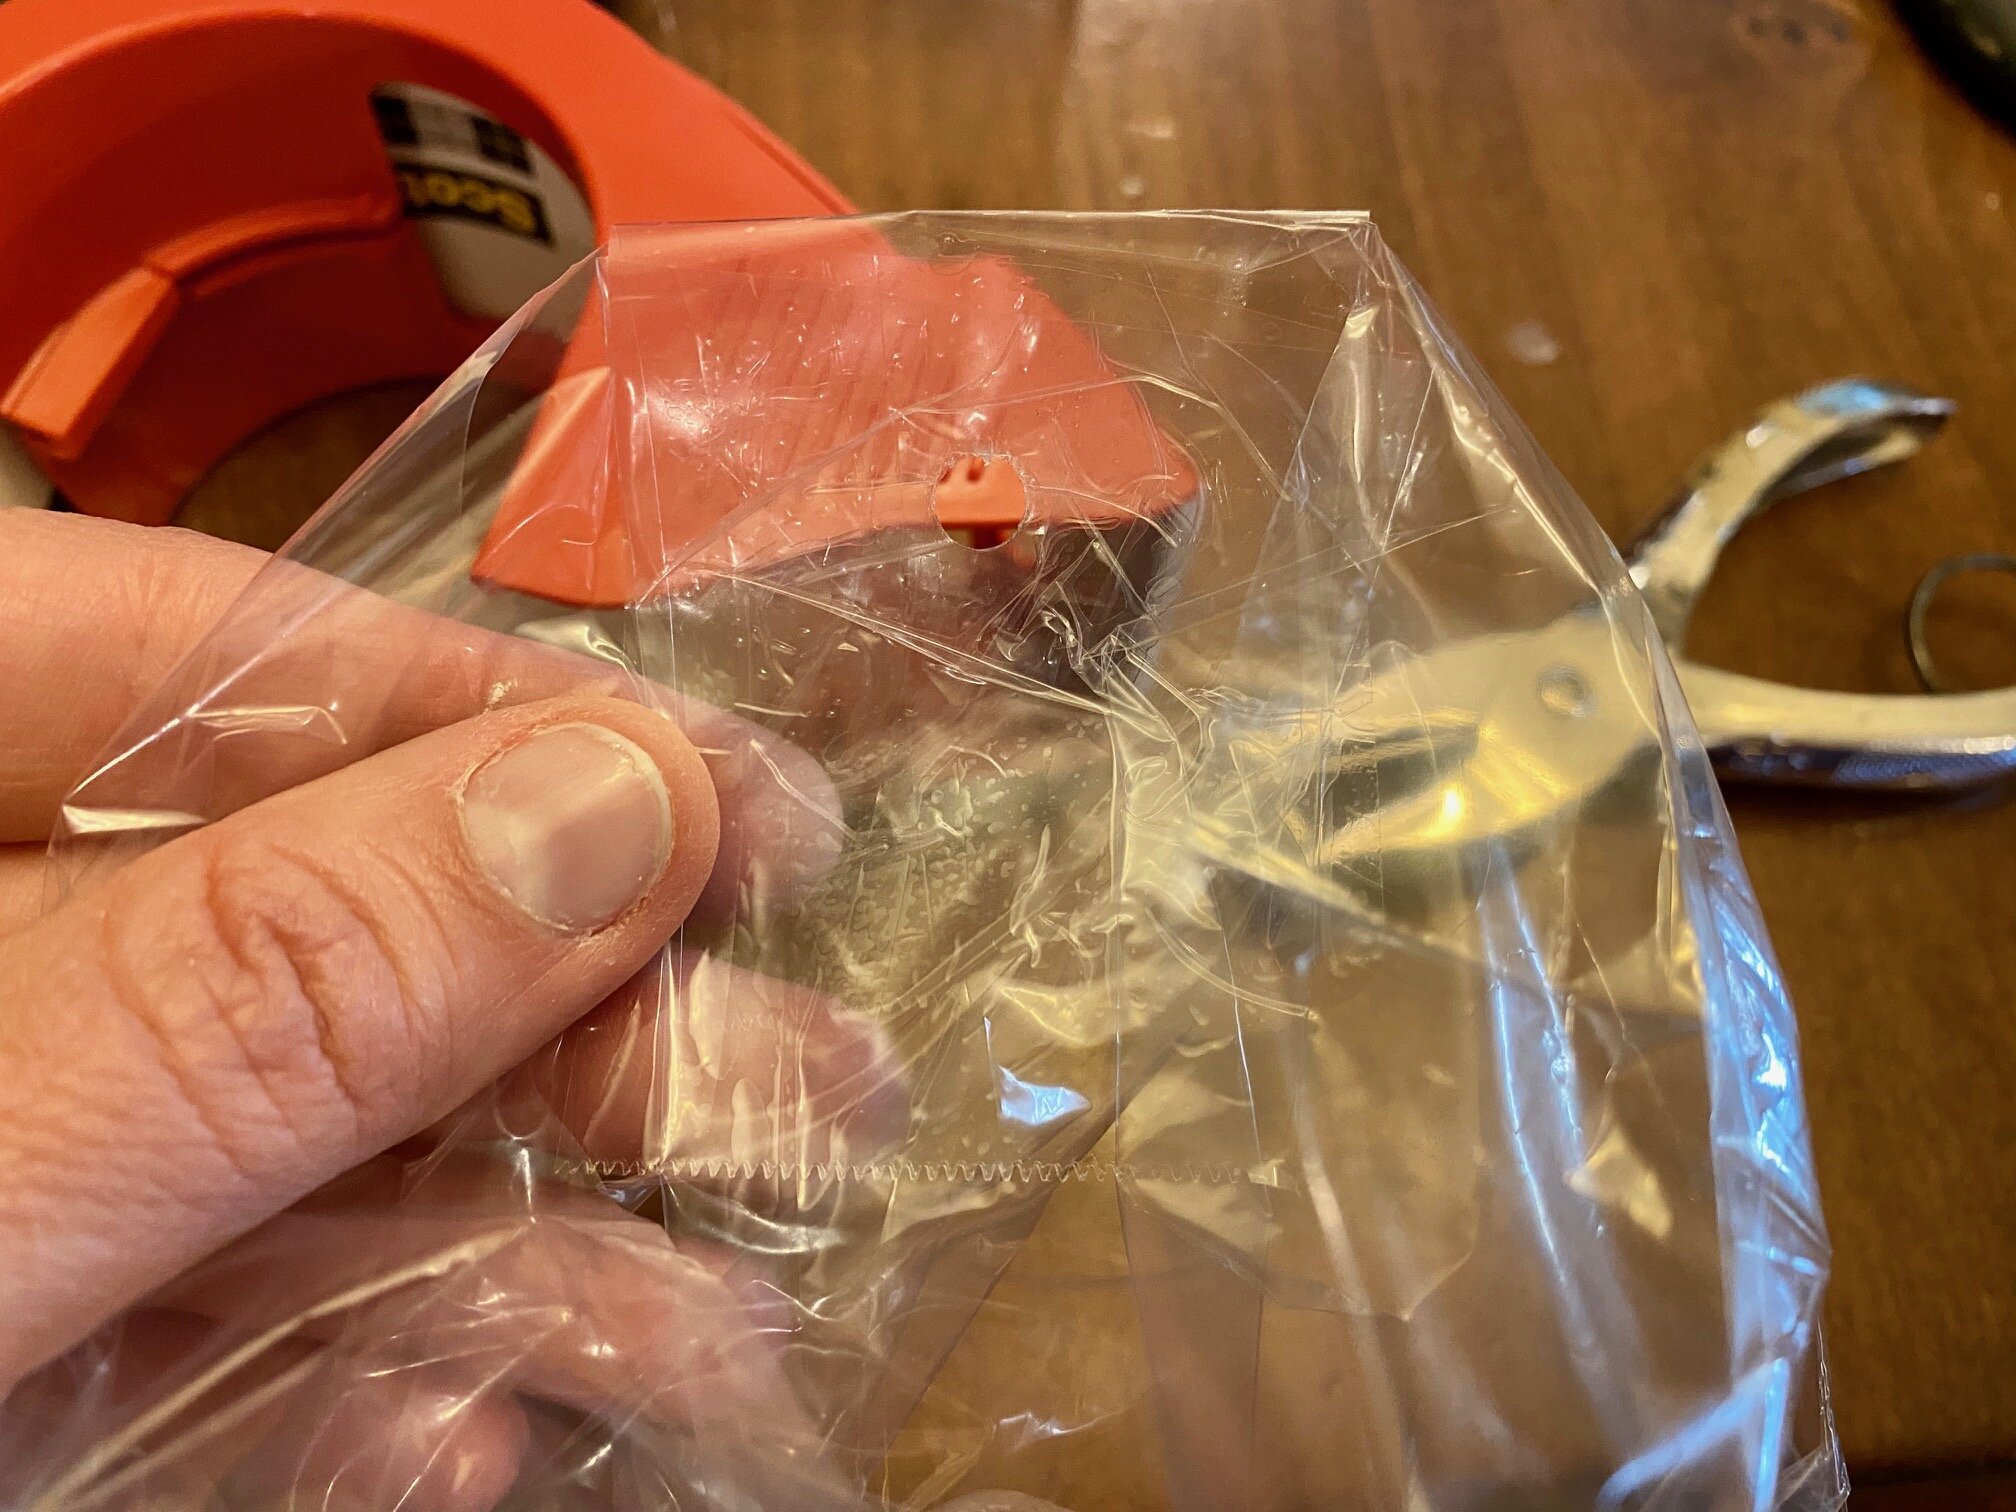
I chose to have a clean mask bag and a dirty mask bag on the far left and far right of my mask holder. Simply used two clear plastic bags and reinforce the top of each bag with packing tape. Then punch a hole in each bag through the packing tape you can hang it from the hook without it tearing so easily.
10. Names on Labels
Now write names of your family members on each of your labels. I simply wrote "clean" and "dirty" above the hooks for my clean and dirty masks.
11. Hang the Masks
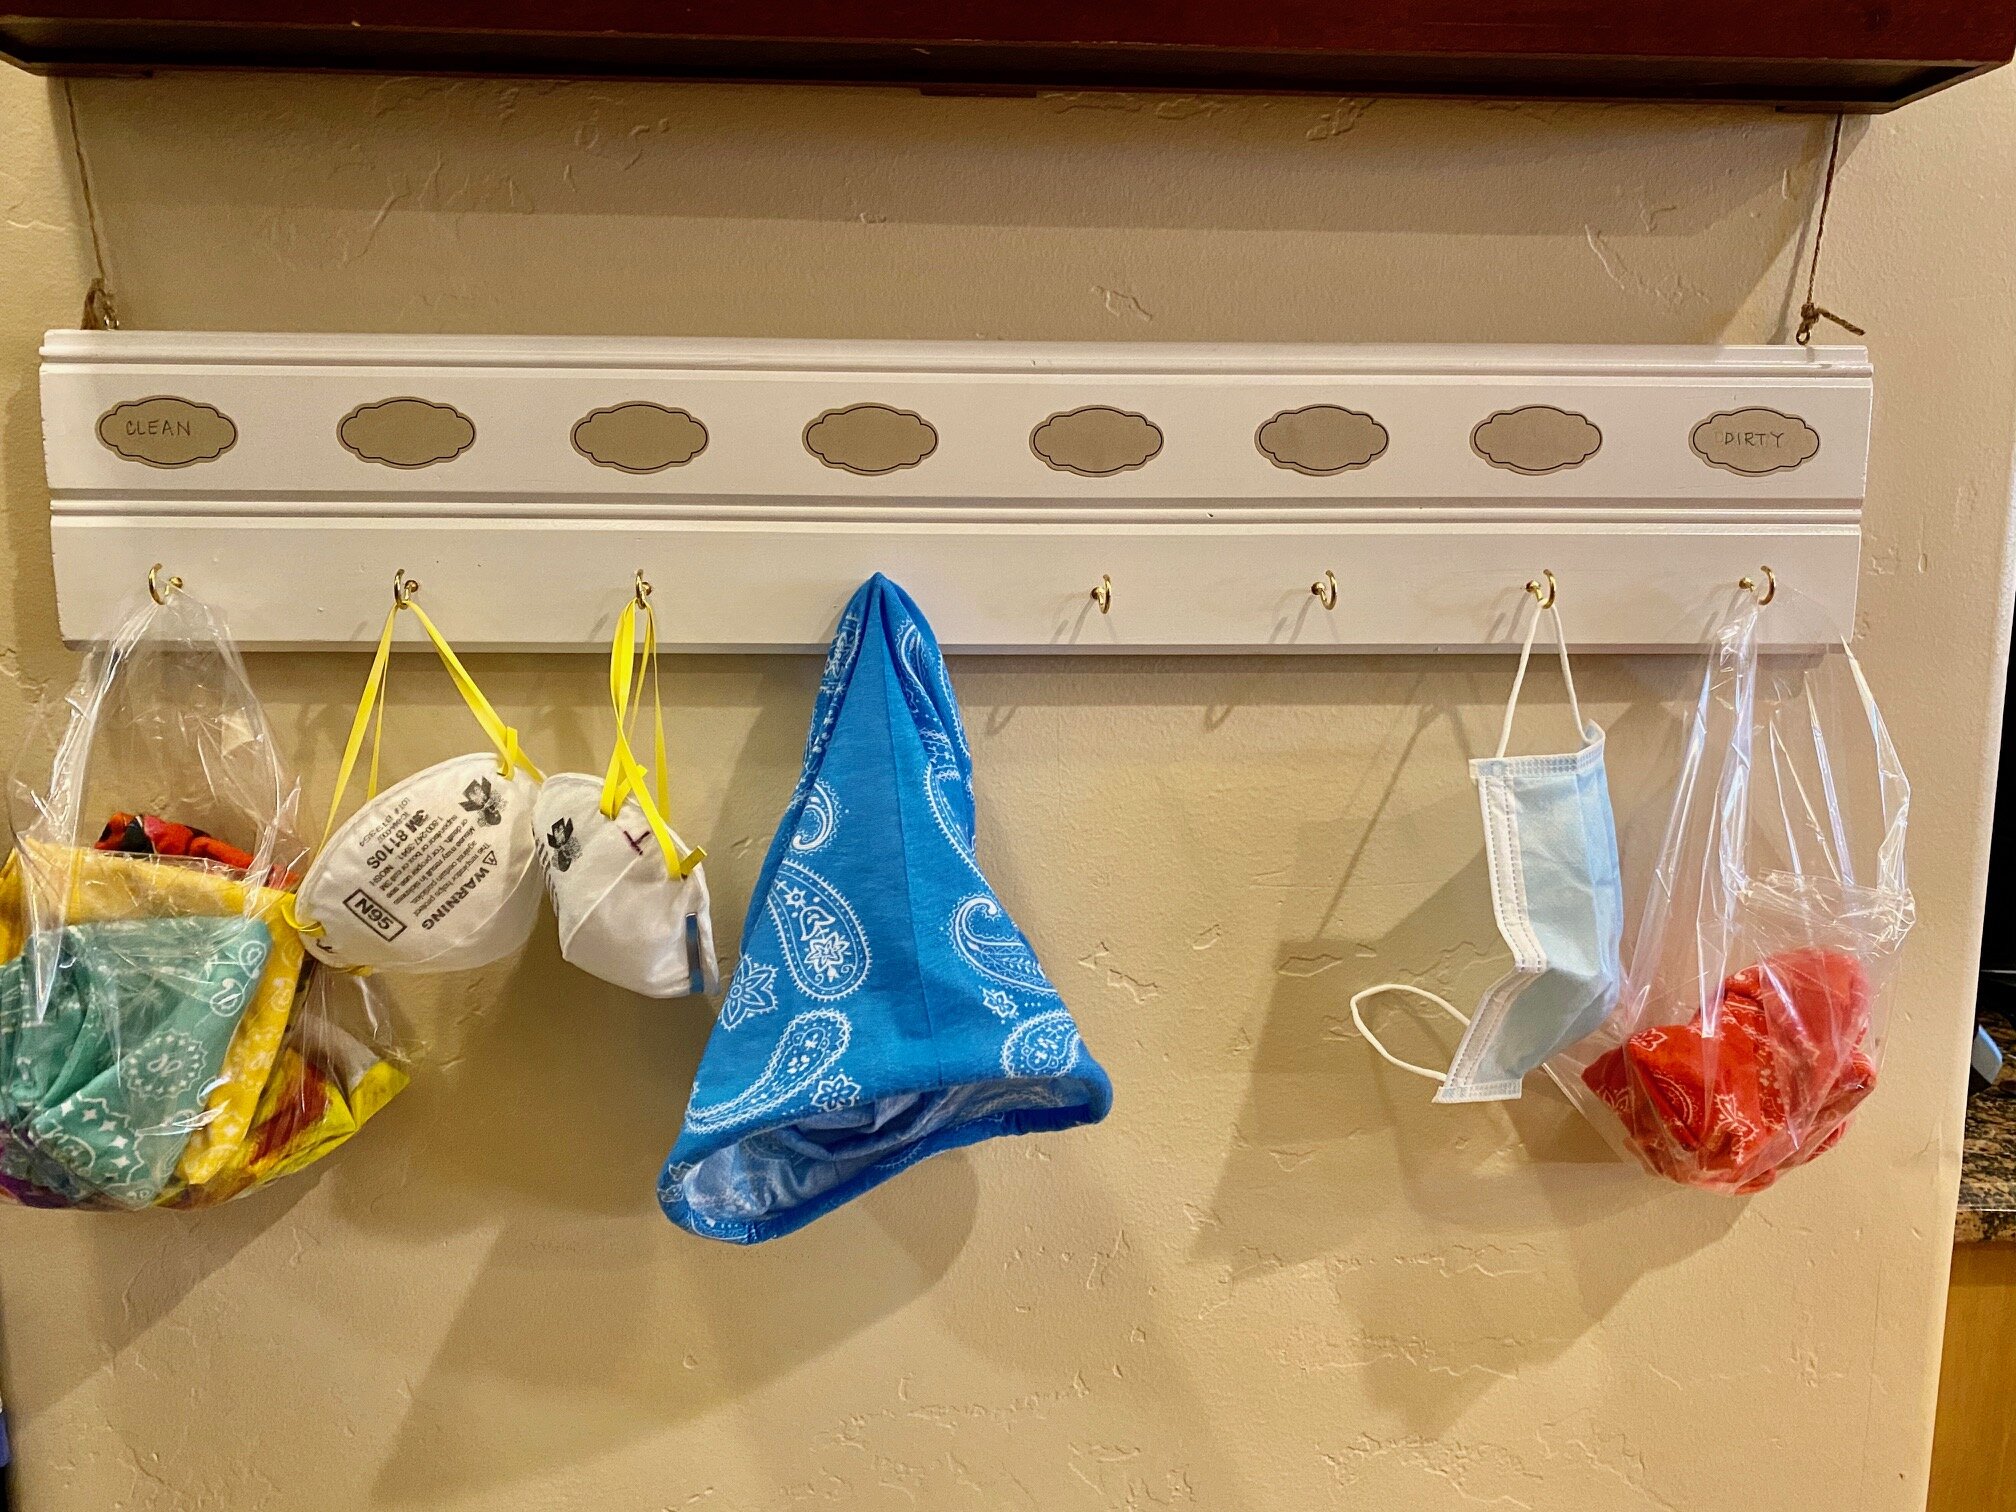
Now all you have to do is hang everybody's masks in their spot.I have to admit, I am so pleased with how my mask holder turned out. And after using it for a few days I am even more impressed with how well my children are using it when they have to leave the house.I hope your mask holder works for your family as well. Have fun creating!